Showing posts with label book blogger craft circle. Show all posts

Wednesday, March 7, 2018

Arts and Crafts Post: Dog Sweaters

Well, this story starts with 2 short haired dogs. One I've been making coats for a while now. I swear manufactures do not believe that big dogs get cold. Dobermans are especially prone to being cold as their short coat is also not very thick. So, between my mom and I we came up with a coat pattern loosely based on a coat I did find that actually fits a Great Dane (he's big but not quite that big, but his chest is HUGE!). I made him one that he wears all the time and I needed to make more. I THOUGHT that the little monster pup was set as I FINALLY could buy one since her chest wasn't too wide and she was small (well, for me she seems small). So she got this sweater which I did NOT make but came from PetsMart:
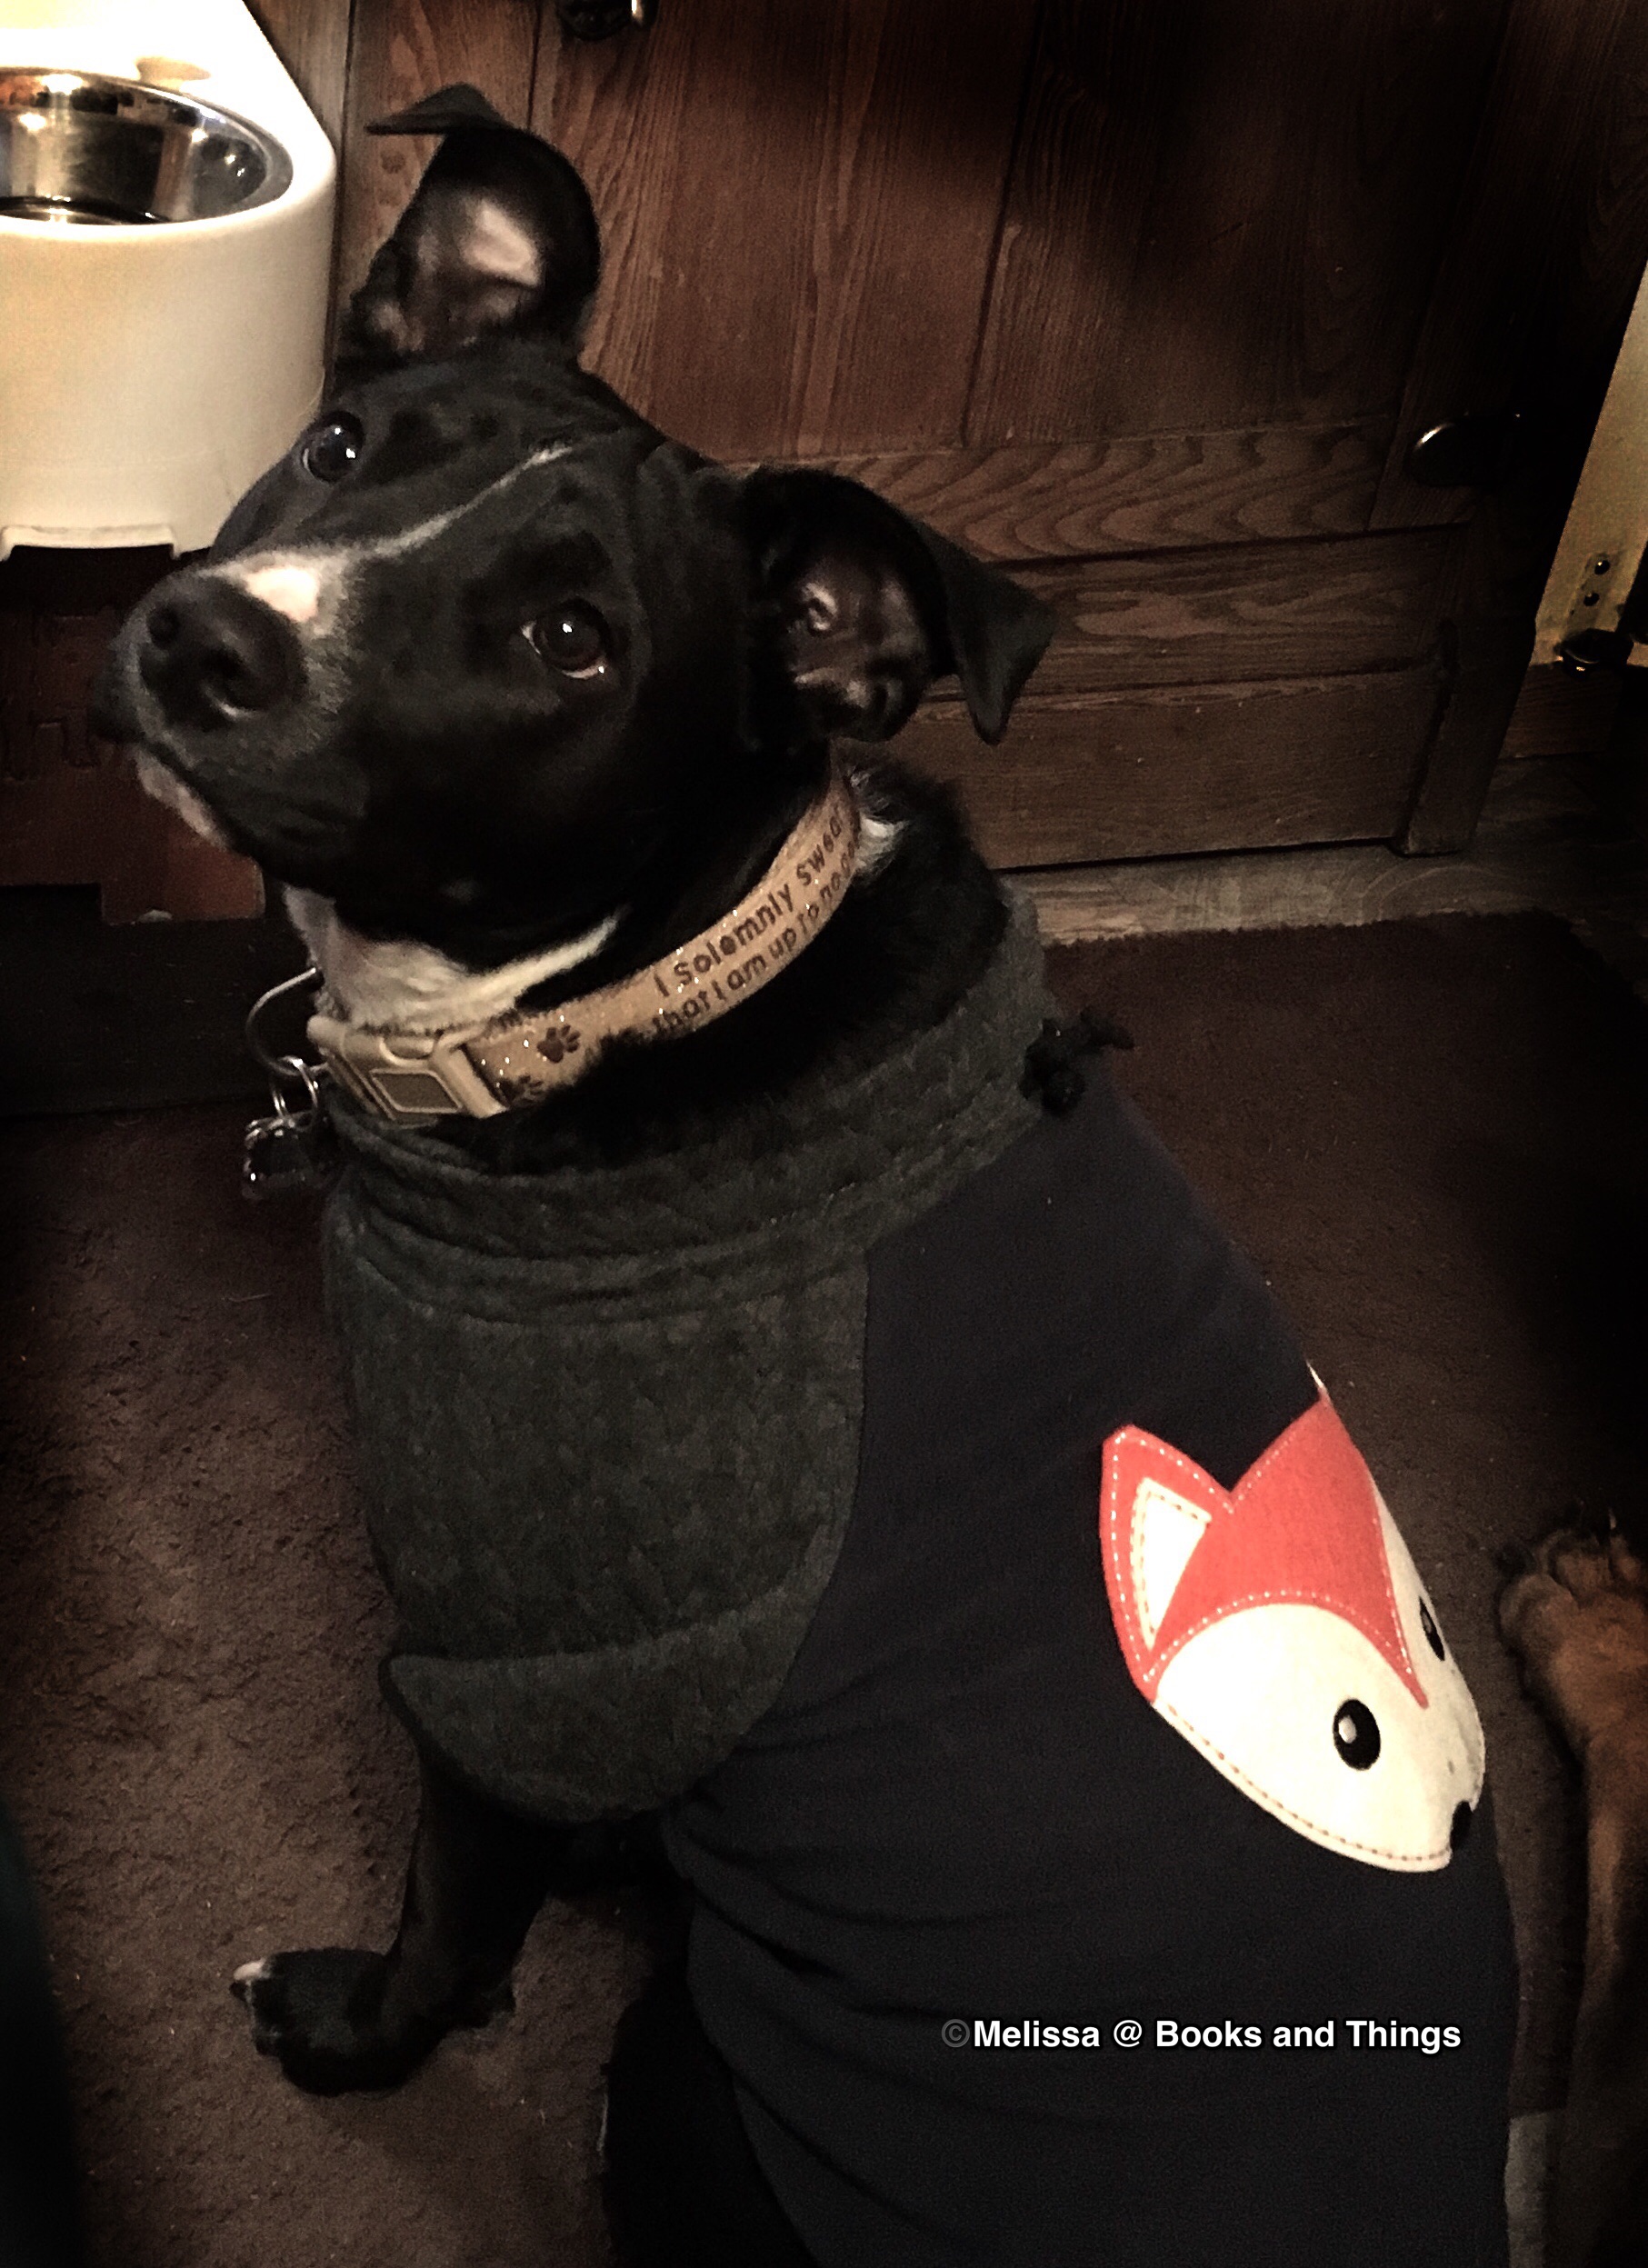
Sweater from PetsMart (bought)
Isn't she adorable? Yea, looks can be deceiving. Actually she had this through at least 3 wearings which shocked me. After that 3rd wearing... it was put through a shredder.... or it looked like it was shredded. Yea, never trust a bored pup. LOL

So... I had a sewing machine... and I found a fleece blanket for $1 at Wal-Mart. It was small and a bit on the thin side for a blanket but perfect for what I had in mind. I found a free pattern and I had some black fleece on hand which was left over from a long ago project (which I recall I also got for a great deal). The pattern is from Mimi and Tara and is a mash up of the raglan dog sweater and the add-on hood (just click on the links to go to her posts on the patterns and yes, they are free). 
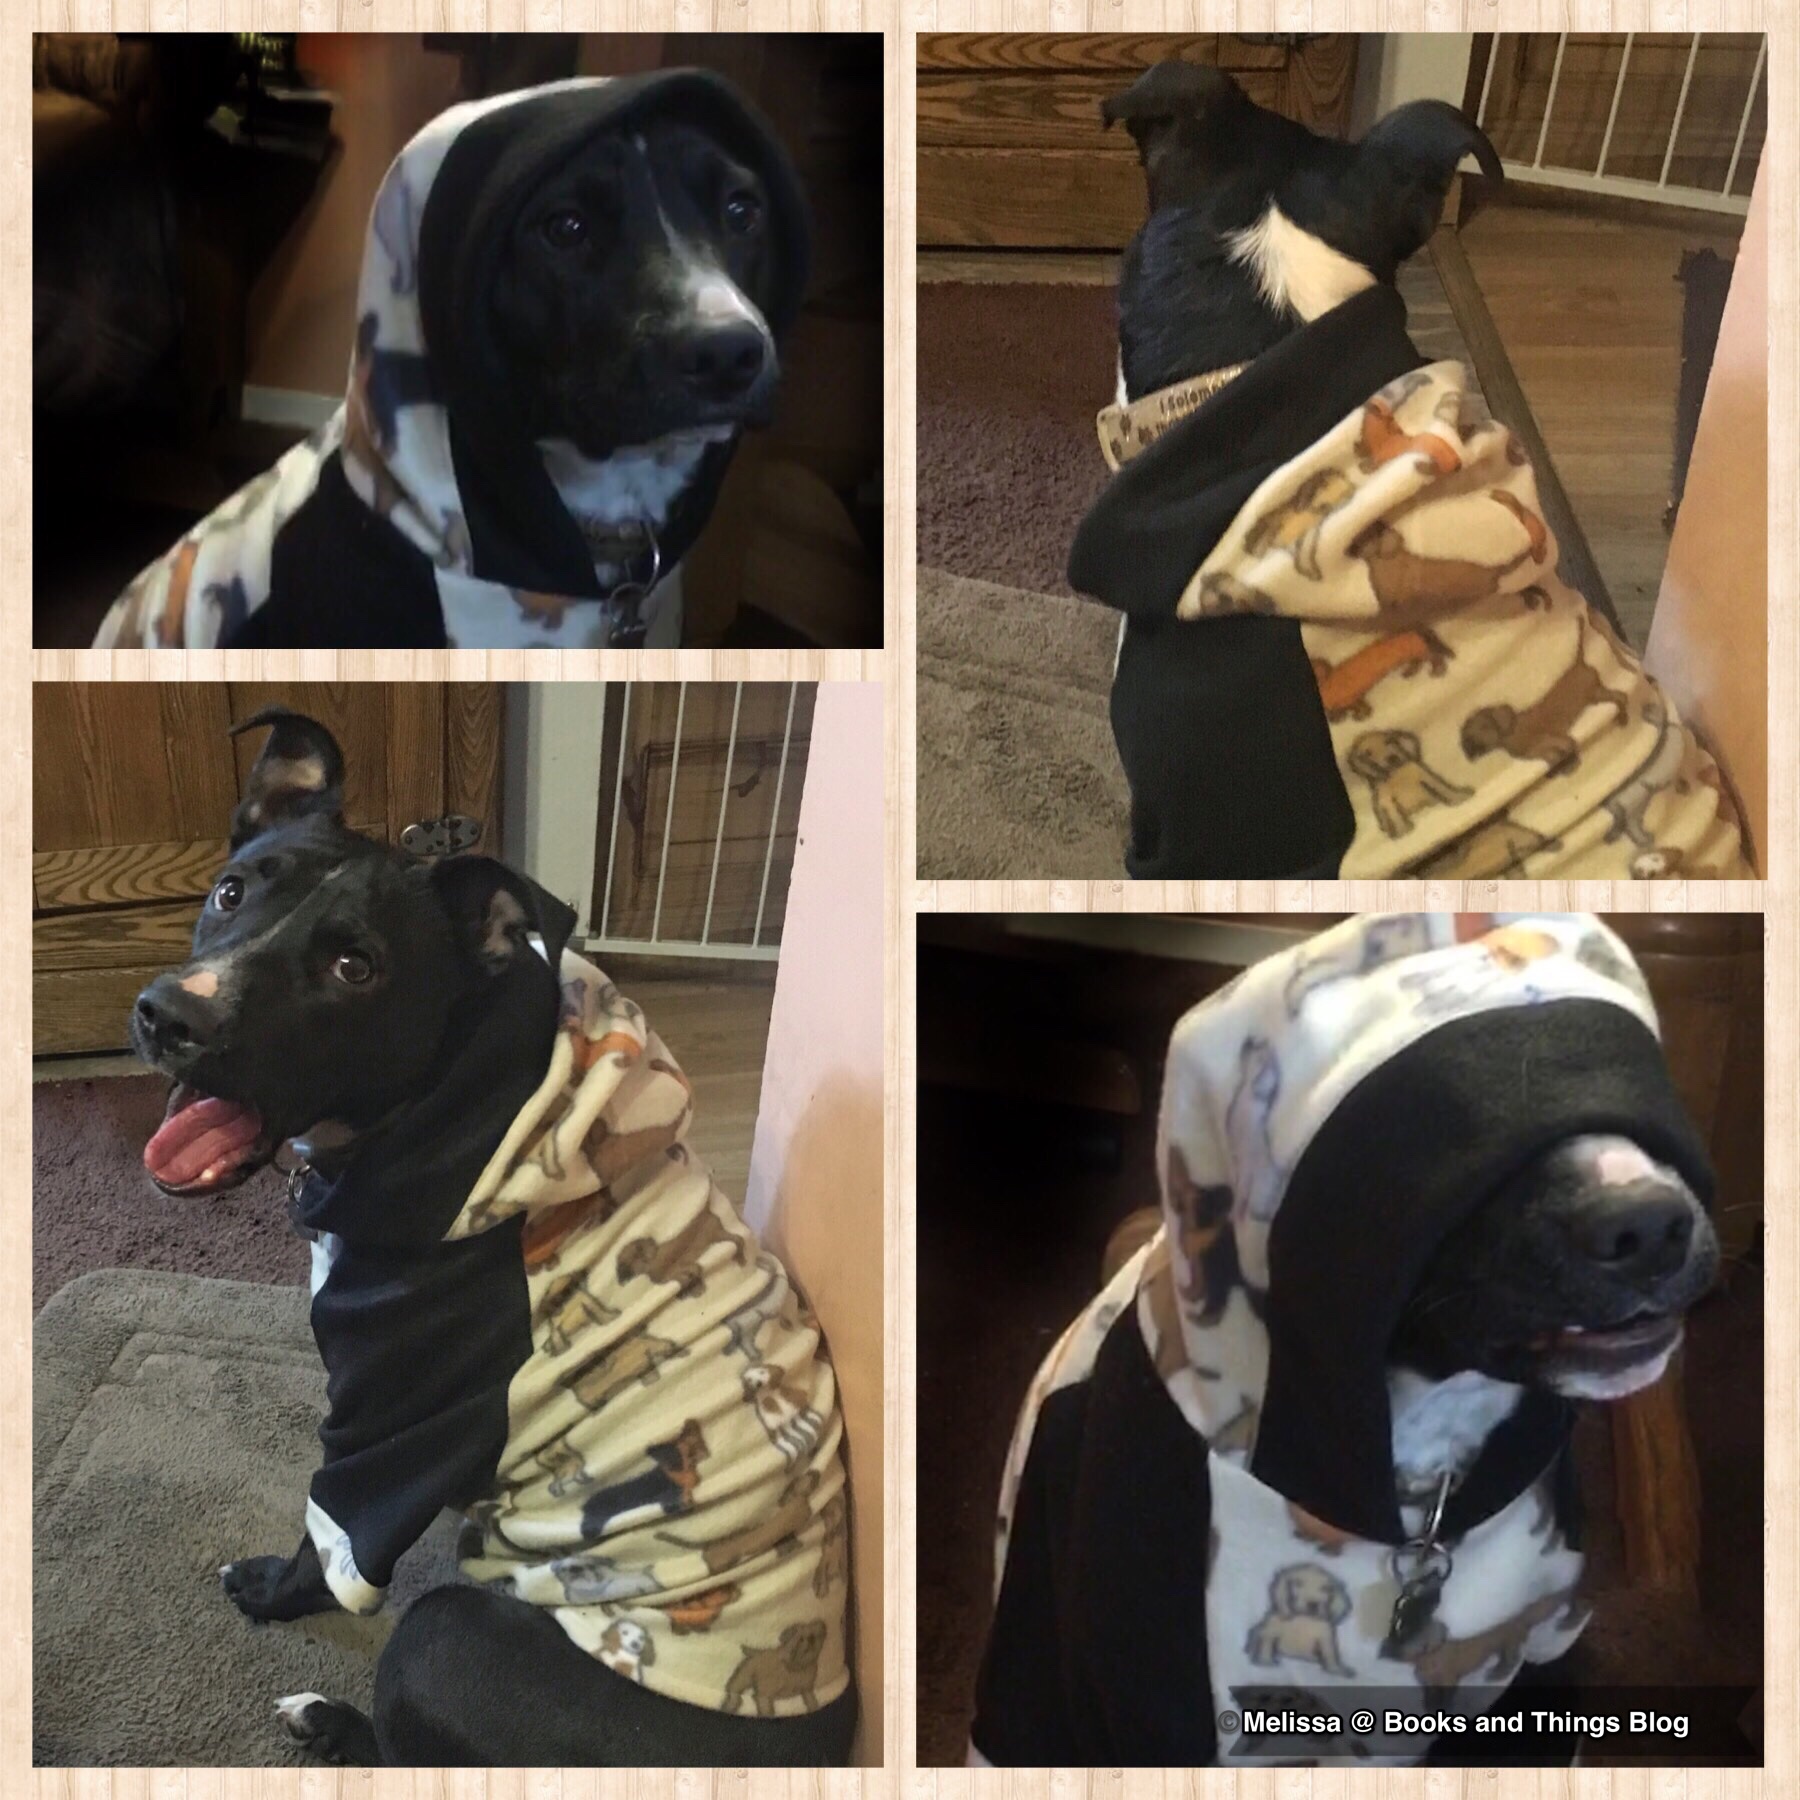

The problem with the patterns is that there really isn't any instructions and I don't sew clothes. Luckily youtube came to the rescue and I figured out how to sew the raglan and the hood was easily figured out with the blog post Mimi and Tara had on her blog. I did add a cuff to the sleeves and because it was so long on her (it fit perfect otherwise) I added a small amount of elastic on the front of the sweater (stomach area) which also helped keep debris out of the inside of the hoodie. 

And yes, there is already a hole after the 2nd wearing on the sleeve. There is now a patch there. LOL

The second one was much easier. It was like coats I used to make my dad's dog and only snaps on one side. This one is VERY easy to make and you could probably find something close to it on the web.
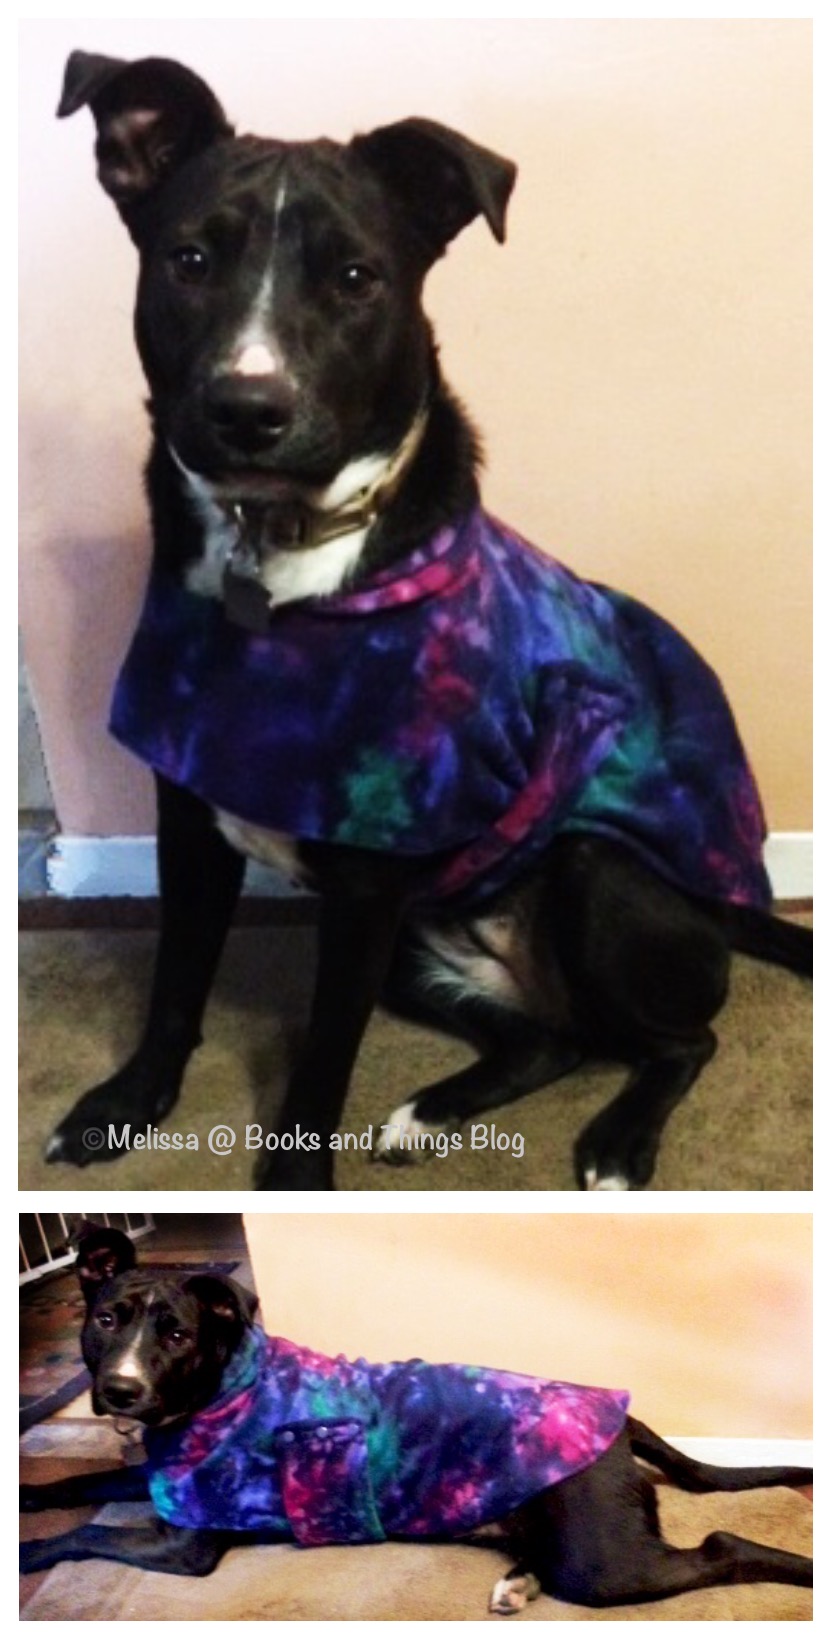
Second coat!
It was also made from a remanent fleece I found. I also don't put it on her that much as I do the other as she has more of a tendency to try to chomp on the back end of it more than the hoodie. Darn pup! 
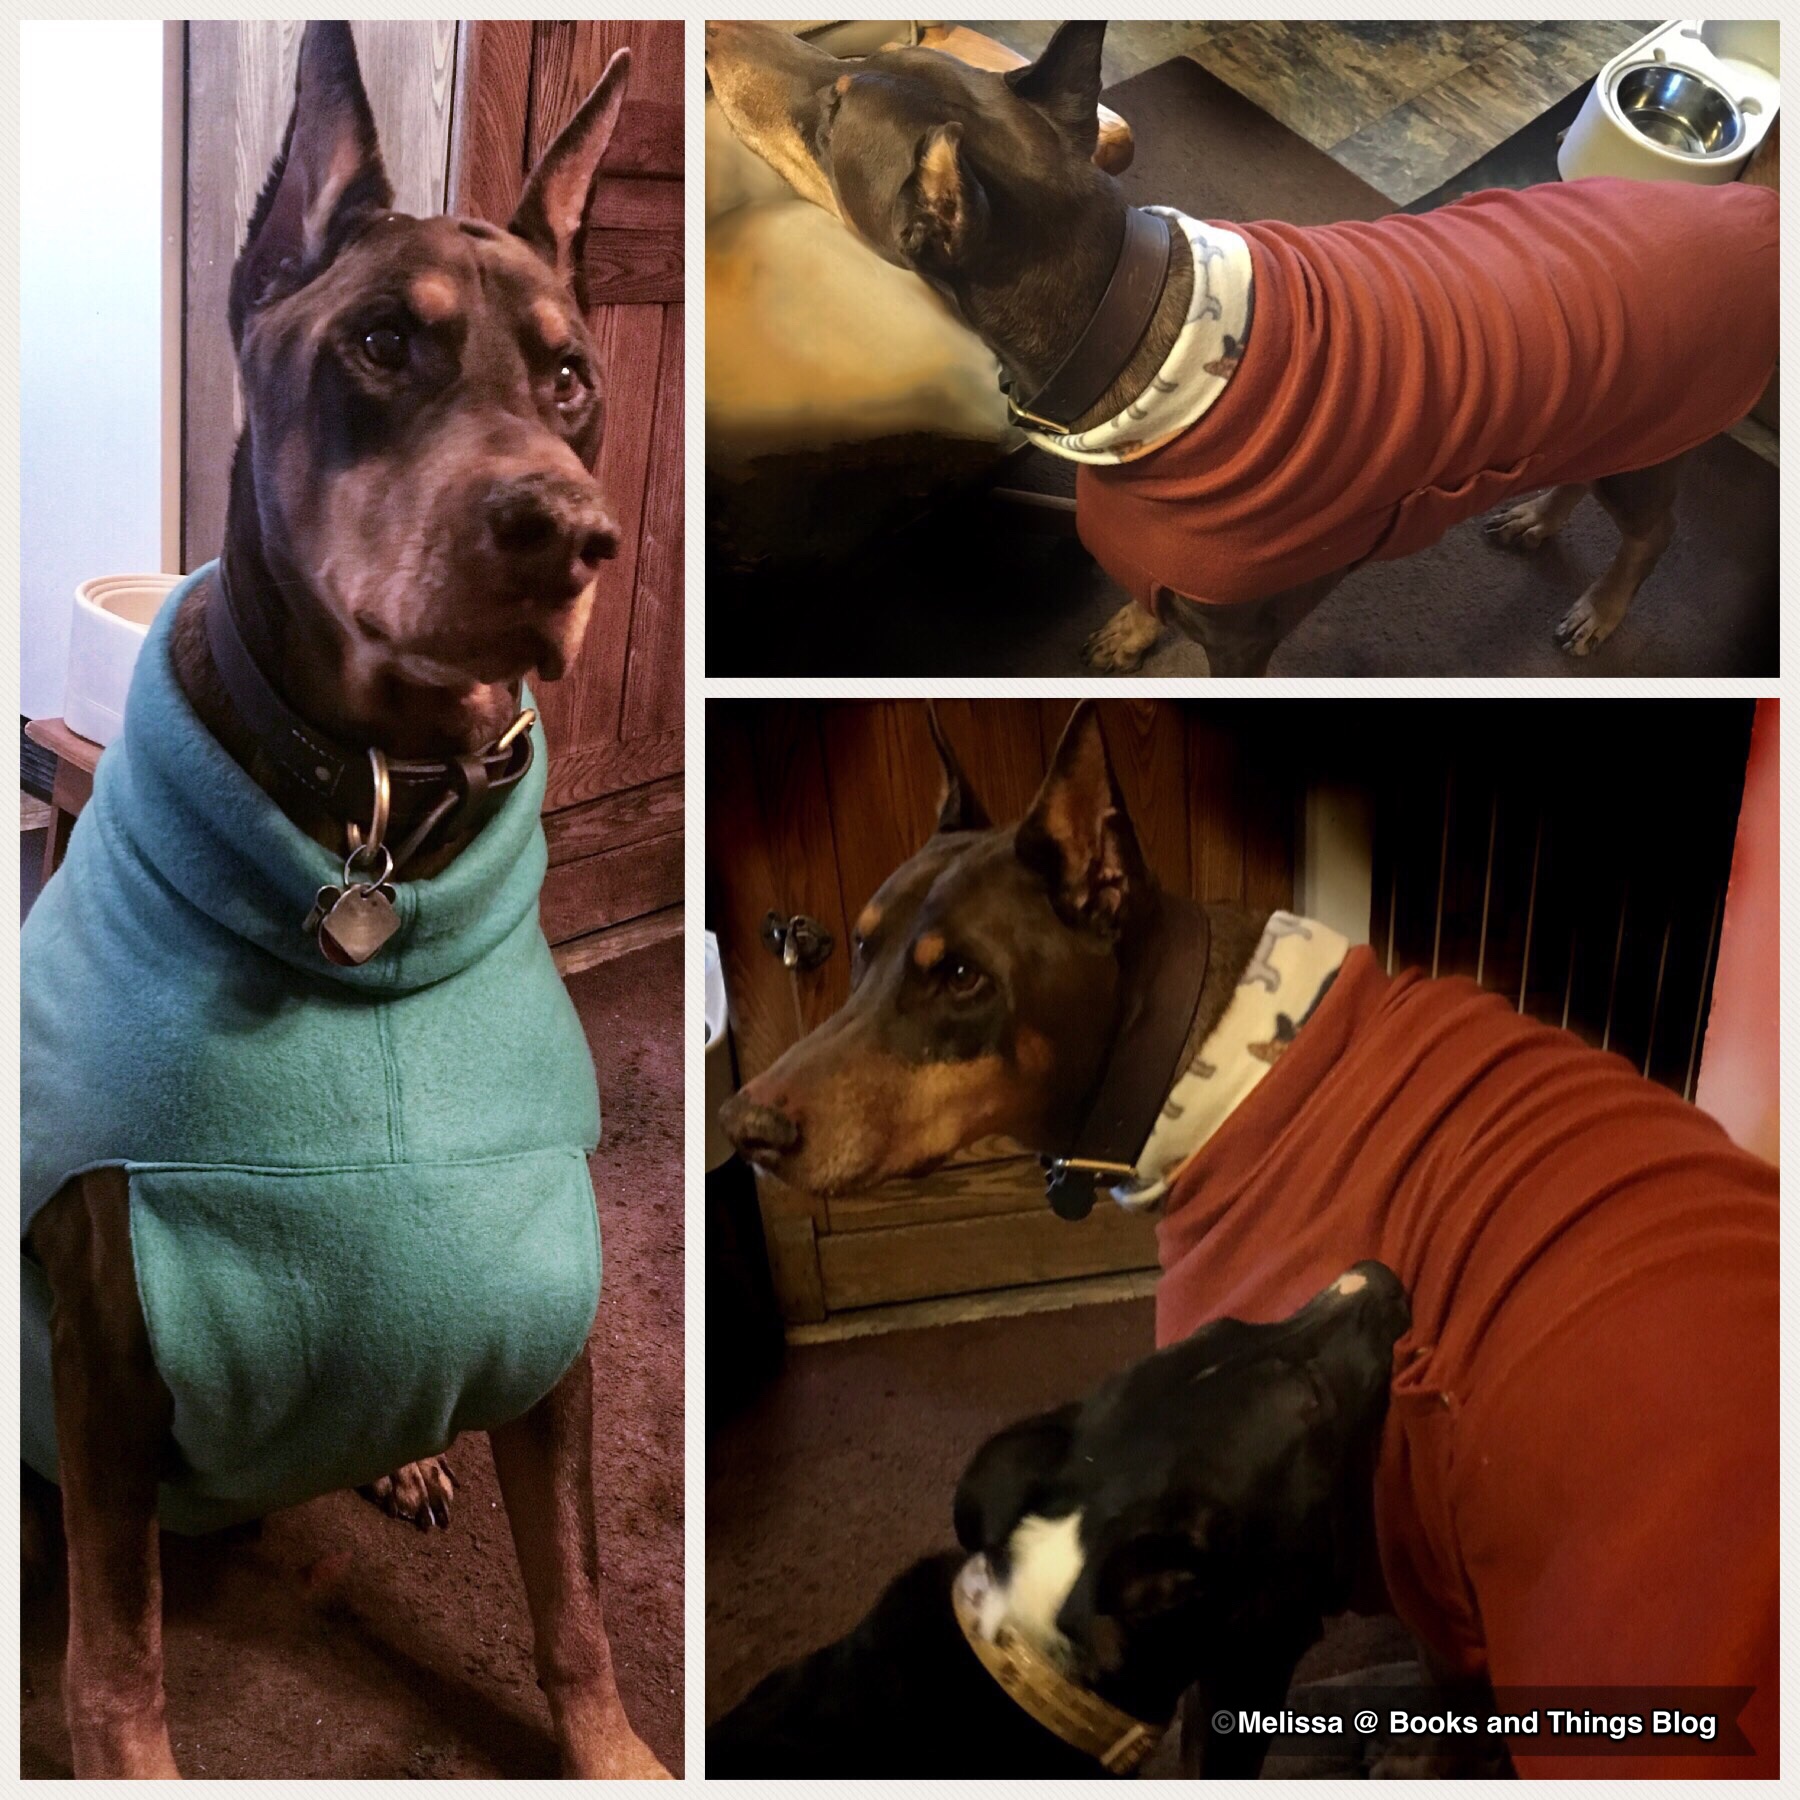
The big boy's coats
Of course I couldn't leave the big boy out and besides I needed to make him other coats so I can wash the one he loves. The blue one is a thick fleece and it wraps around his chest and is snapped on both sides. I added elastic to the chest piece (like I did on monster pup's coat) to keep it more fitted and debris out. I did the same with the rust coat. I didn't have much of this fabric so I used the fabric I had used on monster pup's hoodie for the collar. I made my $1 stretch! Monster pup is in the photo trying to undress the boy. She figured out the coat comes off from the snaps and now tries to unsnap him as much as possible. As you can see by how he ignores her, he is now used to it. LOL

I'll probably end up having to make more next year, but hopefully the monster pup won't shred them as quickly. 

Monday, October 9, 2017

Art Book Post: Everyday Watercolor by Jenna Rainey


Genre: Art Instruction
224 p.
Publisher: Watson-Guptill
Published: 10/10/17
Source: NetGalley and publisher for review

A contemporary paint-every-day watercolor guide that explores foundational strokes and patterns and then builds new skills upon the foundations over the course of 30 days to create finished pieces.

This beautifully illustrated and inspiring guided watercolor-a-day book is perfect for beginning watercolor artists, artists who want to improve their watercolor skills, and visual creatives. From strokes to shapes, this book covers the basics and helps painters gain confidence in themselves along with inspiration to develop their own style over the course of 30 days. Featuring colorful contemporary art from Mon Voir design agency founder and Instagram trendsetter Jenna Rainey, this book's fresh perspective paints watercolor in a whole new light.

My thoughts:

This is probably one of the best beginning watercolor books that I have come across in a long time. I really like how it breaks down skills and puts it in easy to understand format. I would love to see an accompanying video since watercolor is a visual art. I think that it would also be helpful to grasp the concepts much easier. However, once you do the exercises one or more times it should become more clear in what skill the book is trying to impart. For those new to this art, I would suggest taking each project as it comes in the book. The skills build upon the other.

For more advanced artists, the earlier exercises might seem too simple, but it is also good to go back to the beginning and just practice. You should be able to fly through those first chapters or skip around in this case. The last projects were you put the pictures together would probably be more interesting here and I do like how her simple and bright washes keep the paintings clear and high value. Makes the art look very fresh and it seems to be a trend in the watercolor illustration market.

In conclusion, I give this art book 4 stars. I would recommend this book to someone wanting to try watercolor and some good practice for those that have been painting for a while.

🎨

Wednesday, August 23, 2017

What a month!

Ah, I've been silent again, but for good reason. 

I had a whole post on what my dogs put me through (they are all fine now but seriously dogs...), my health, and Charlottesville. While I was writing it out I realized I really didn't want to talk about all of that. Since Charlottesville I've been angry and tired and let me just say it... racism is bad. How do some people not get that? Even though I was not surprised that violence has happened but what did surprise me is that it has become personal in a way I didn't expect. I won't reveal the specifics but I will state that I have no problems standing with my convictions but it did make me angry. I only wanted to state that since I KNOW I'm not the only one going through it and I want anyone out there to know they are not alone. So many more people are speaking out against racism. Racism has always been there, it will be there after this section in history but we can do what we can to lessen it's impact for future generations. I have no problem believing it will happen because so many people are saying no. It is good to see and hold onto that. 

Now I'm switching gears (but know you just got a virtual hug from me)...

I just became a affiliate for Craftsy. 

Paper Crafts Supplies

I have used this site for quite a while. I often buy patterns or videos from this site when they are on sale. I can now let you know so if you are interested you can get in on the sales. Yep, I'm trying to do more crafting. I'm also previewing a lot of videos for them so hopefully I'll get to share those as well for you. I've been a bit behind where I want to be due to personal issues but hopefully will get to writing those things down.

I am also getting more involved in dog nutrition and training. I have to write some reviews on this and will hopefully have them soon.

It will be a bit before I'm back into full swing, but thanks for sticking around! I hope I end up having something here you will enjoy.

Hope your day gets better (even if it is great, I want it to get even better!) since I think we all deserve it right now.

💝

Wednesday, July 26, 2017

Arts and Crafts (and Entertainment): Dog Harness and NetFlix

...and a bit of movies and shows as well...

I actually have a few crafts I need to post but because I'm behind and have a few things to work out before I post most of them so this will be short. I do have one I would like to share that I just completed. 

I made a pup harness!

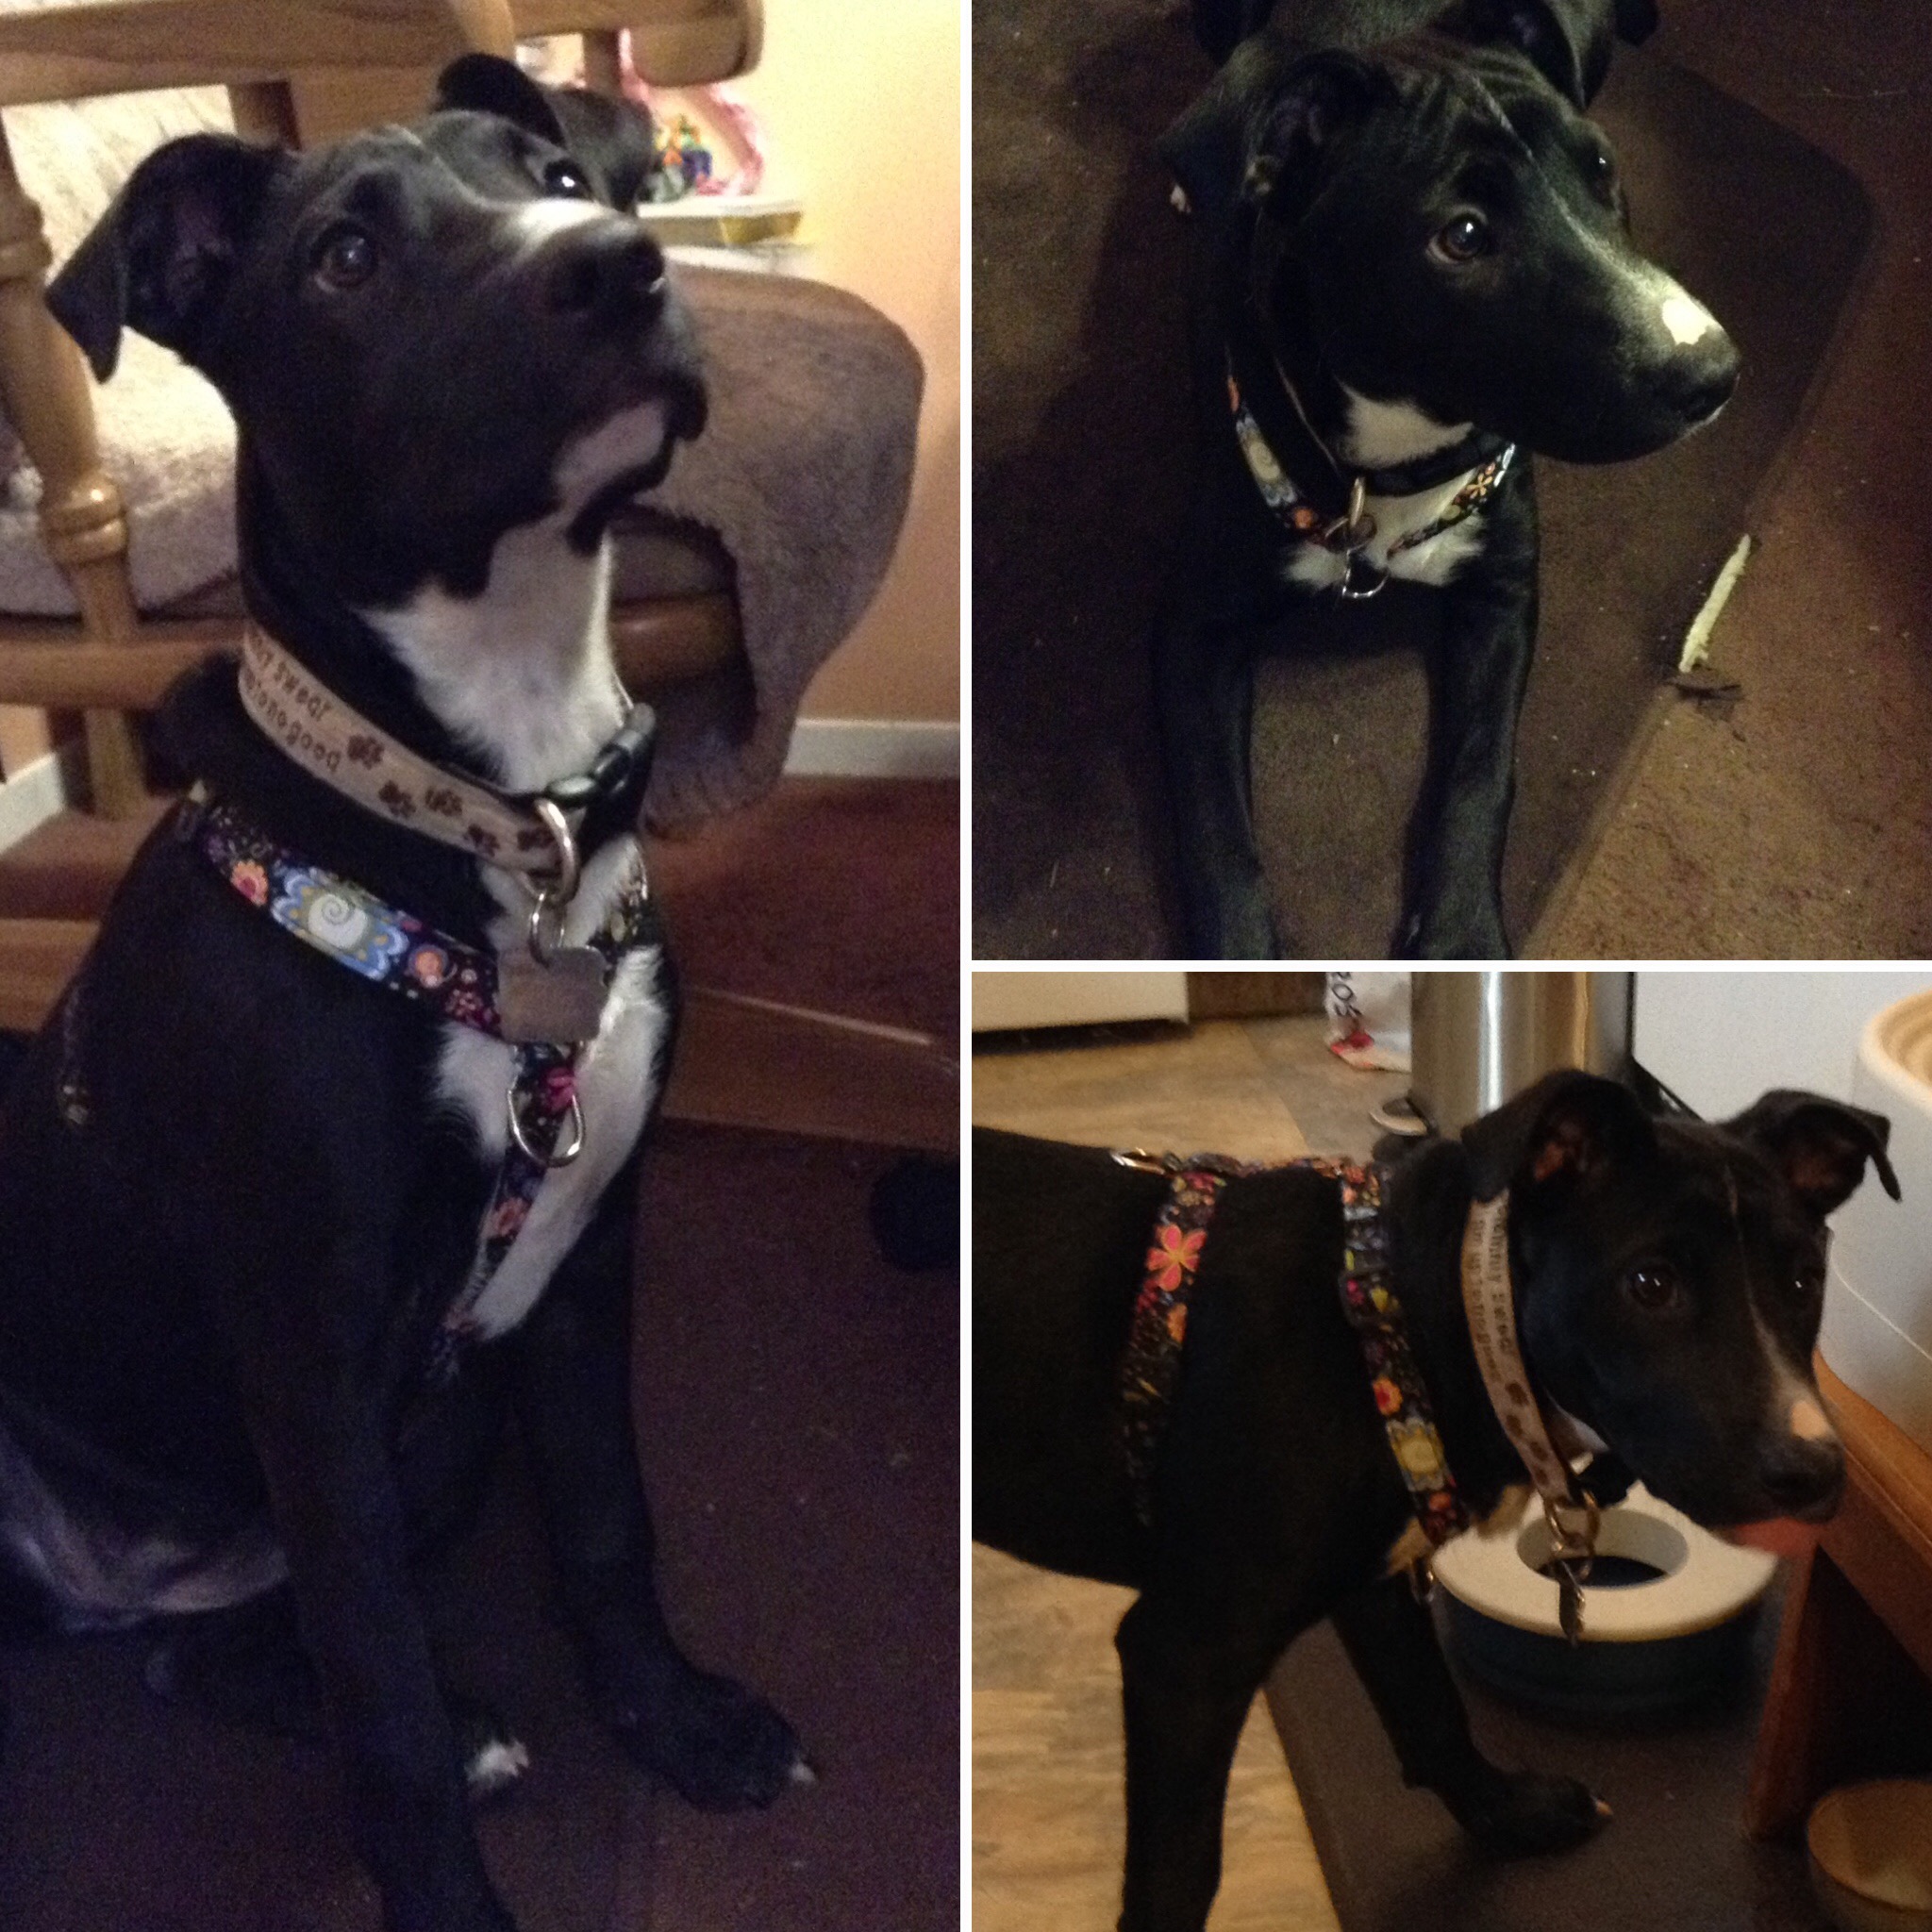
I put an extra D ring on the front to make it a no pull harness. Will see if it works soon. It is also an no choke harness as well. She needed another one and I made this one so I could wash the one I had on her. LOL 


Here she is modeling the harness. She is growing! Her face is starting to elongate a bit and now I can see more of the shepherd that she is supposed to have in her. Still looks nothing like one though. 

I have also been catching up on a few movies from time to time. Finally saw Moana (and now it has been in the background now and again... LOL) and I also finally saw Kubo and the Two Strings.
I knew about this one a long time before it came out because Toby Froud (yes that Toby from Labyrinth) worked on the film and I saw a bit of it while in production. If you haven't seen it yet, you should. 

I also got my mom into Sense8 and about the time I knew she would be hooked they announced that it would be cancelled. I warned her but she had already been hooked enough to continue and by the time it was over she was cursing with me about Netflix stopping production. Soon after it was announced that there would be a 2 hr ending in the works and it should be available next year. *whew*

I also have been getting into Wynonna Earp. It is a campy-ish sci-fi show with demons and other odd characters. It is fun and I'm just in the first season. It comes on the Sci-Fi channel but the first season is on NetFlix.

Hope everyone is doing well! I'm going to try to catch up on my blogging and blog visiting one day soon... 

🐕

Wednesday, April 12, 2017

Arts and Crafts Pinspiration: Electronic Charging Station


I actually became inspired by a pin in Pinterest on making an electronics charging station. Here is the pin and my result...

This was the pin by Design Sponge I was inspired by:


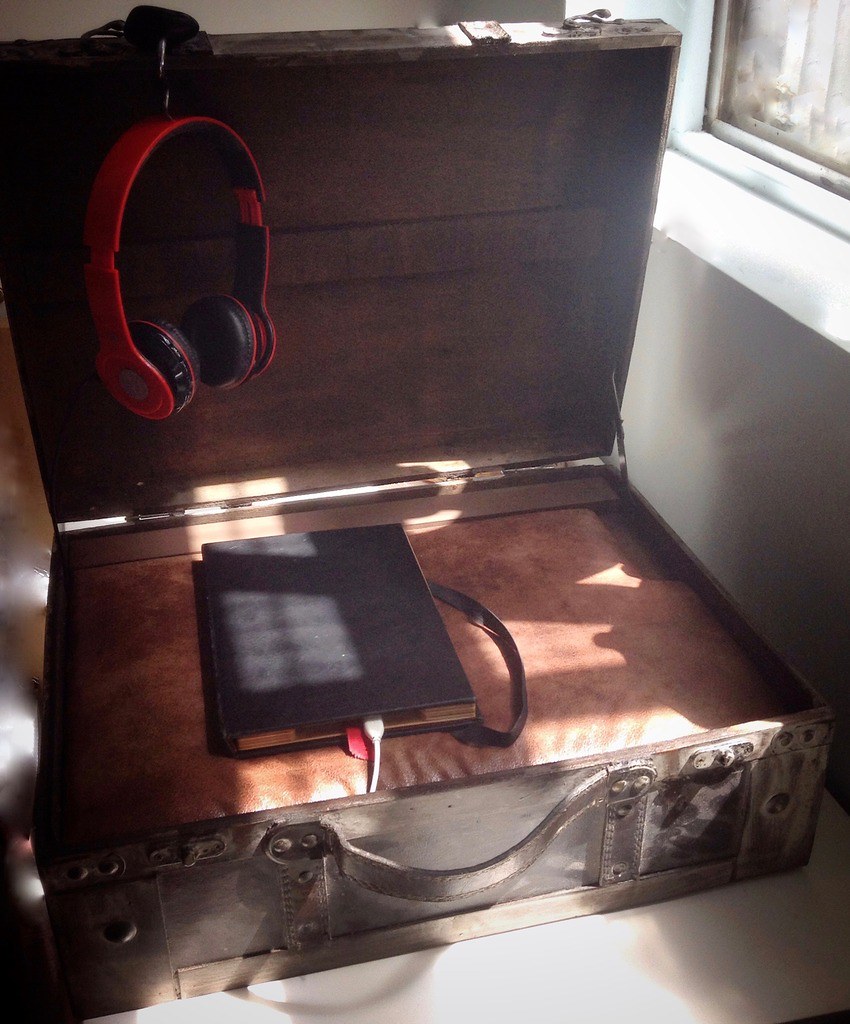
There were a few things I changed and this was my result:

Sorry for the lighting, but it was the best I had at the last moment and where I have it, it is too dark for pics. I still need to set up a spot to take better pics, until then, please bear with me. 

The case is something my mom got me a million years ago from Hobby Lobby when they were on sale (I have no idea if they still have these) to store things in but I thought it would be perfect for this project. 

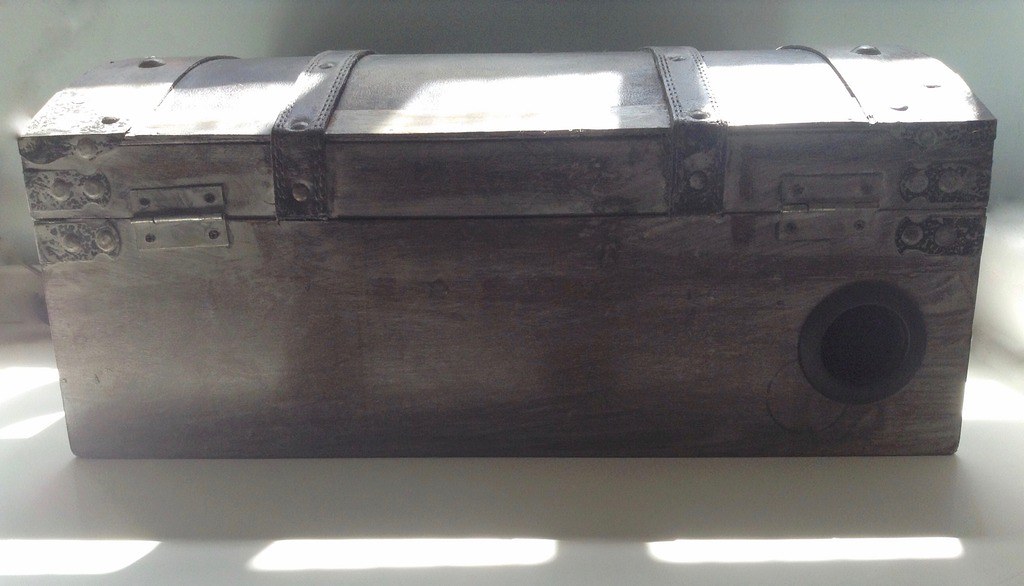
I used grommets for the opening in the back like the pin suggested. It was a good sized opening and I'll be able to not only fit the large plug from the surge protector power strip, but I'll also be able to thread wires back out for those things that I wouldn't put in the box.
Back of box
The headphones were attached to a shower hook that I had which fits semi-securely on the top (not for a lot of movement, but stationary it will be fine). The box can be closed (without hook) just like it came.

Front of box
The part where I deviated the most was the place where I will lay my ereader on. In the pin they had you use white peg board and it already had a place to lay this top piece. I just glued (Gorilla wood glue and a couple of small clamps) a couple of 1 1/2" boards cut to the side areas for my shelf just under the metal pieces they had to give the case stability. I then used foamcore cut to the size of the shelf (cutting a section out for the hinge so it didn't interfere with that area), minus the 1 1/2" board in the back for a bit of extra stability, added one layer of batting on top of that and then hot glued the fabric on top of it and then added a piece at the bottom to make it look nicer even though you won't see it. The fabric I used is a very thin microsuede I got from the remnant section at Joann's (hint: the remnants are usually 50% off and if you find the fabric in in a section that is on sale, you get that % off as well). Also, because I used foam core and the box isn't completely square in the front, I have a small space which I can thread my wires through to the items that need to be charged. I did add a small tab so I can easily lift it to sort things out in the storage area.

inside which shows the glued shelf and where the cords are going. Ignore the extra wood piece..
Hope you liked my wordy explanation! 😊

So this is my pinspiration! Have you done any projects from Pinterest?

📌

Wednesday, December 21, 2016

More Holiday Crafts/Gifts


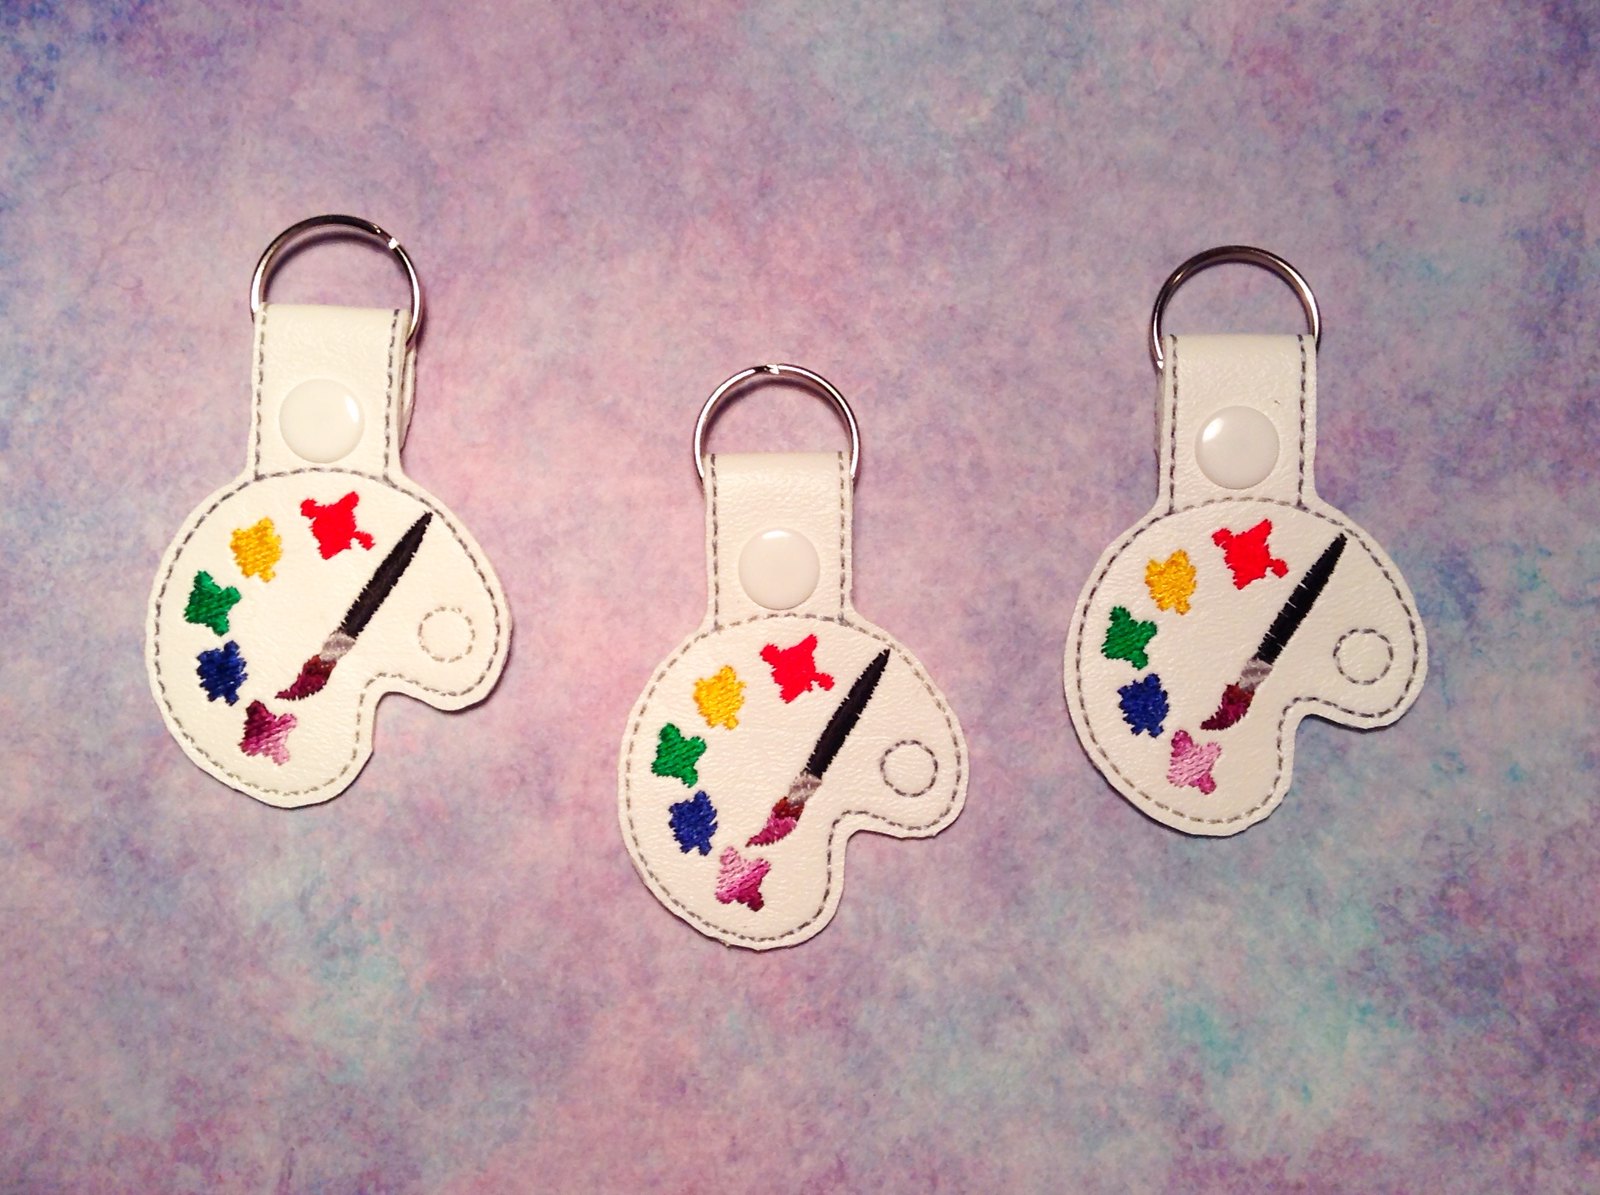
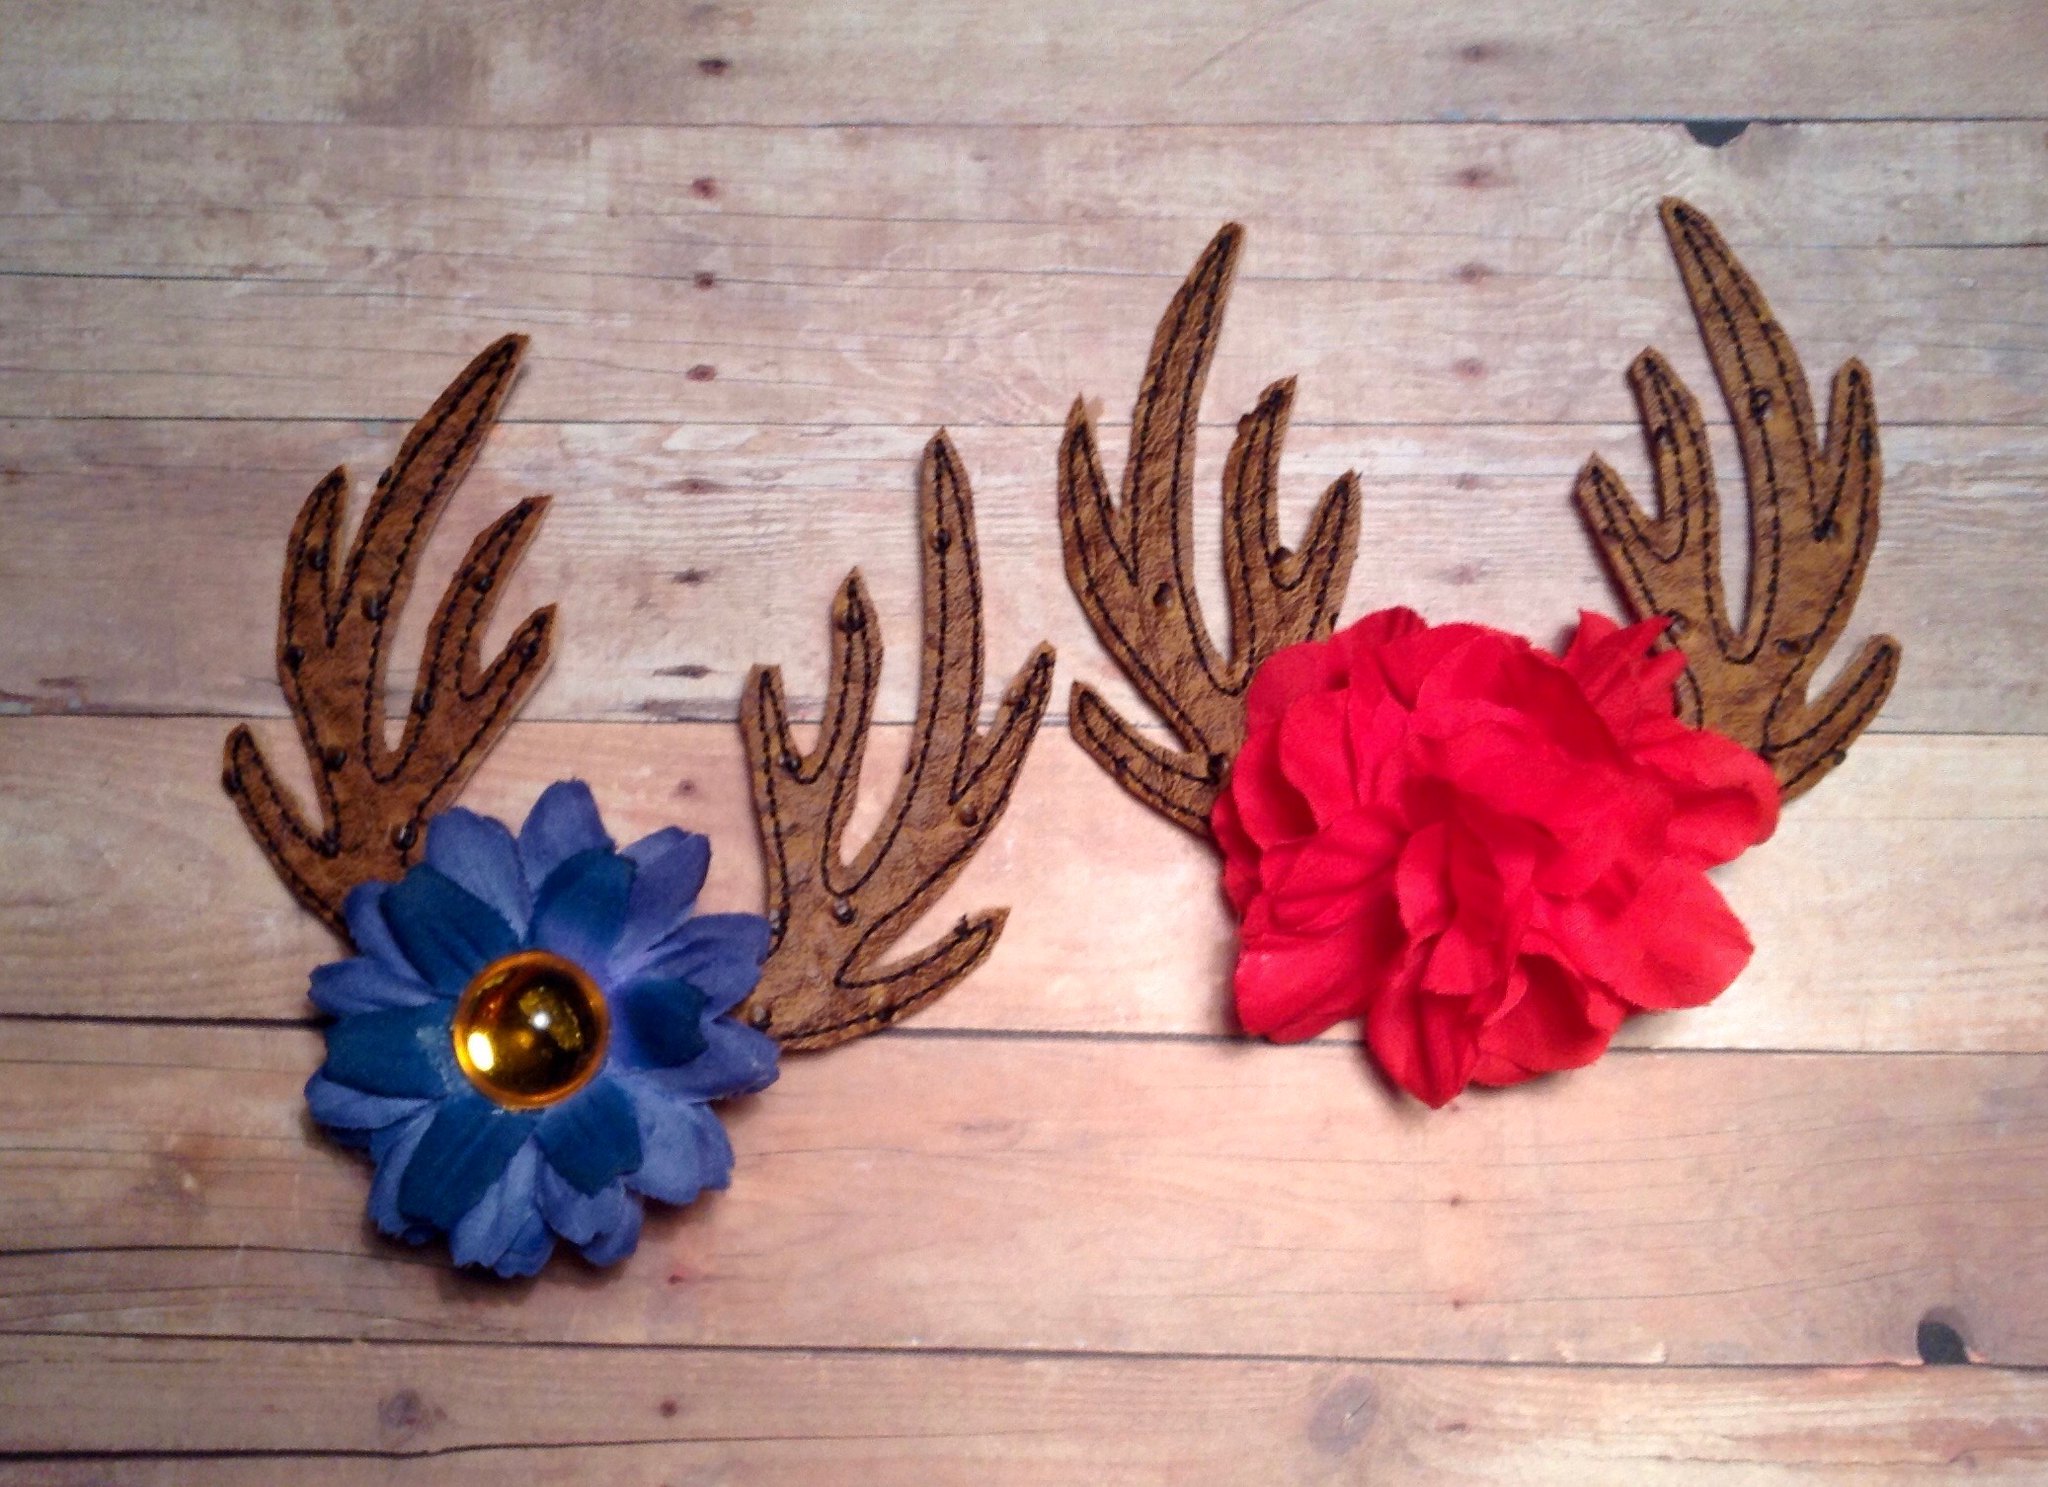
Here are a few things I embroidered for the holidays:


I did a few of these. One I'm keeping 😉 and another I'm giving to an artist friend of mine. I've also done those butterfly zip pockets (like I did on this post) for others.


These are for the hair and there is a barrette on the back. I used a fixative with my hot glue that I cannot find anymore but it works to keep it solid. 


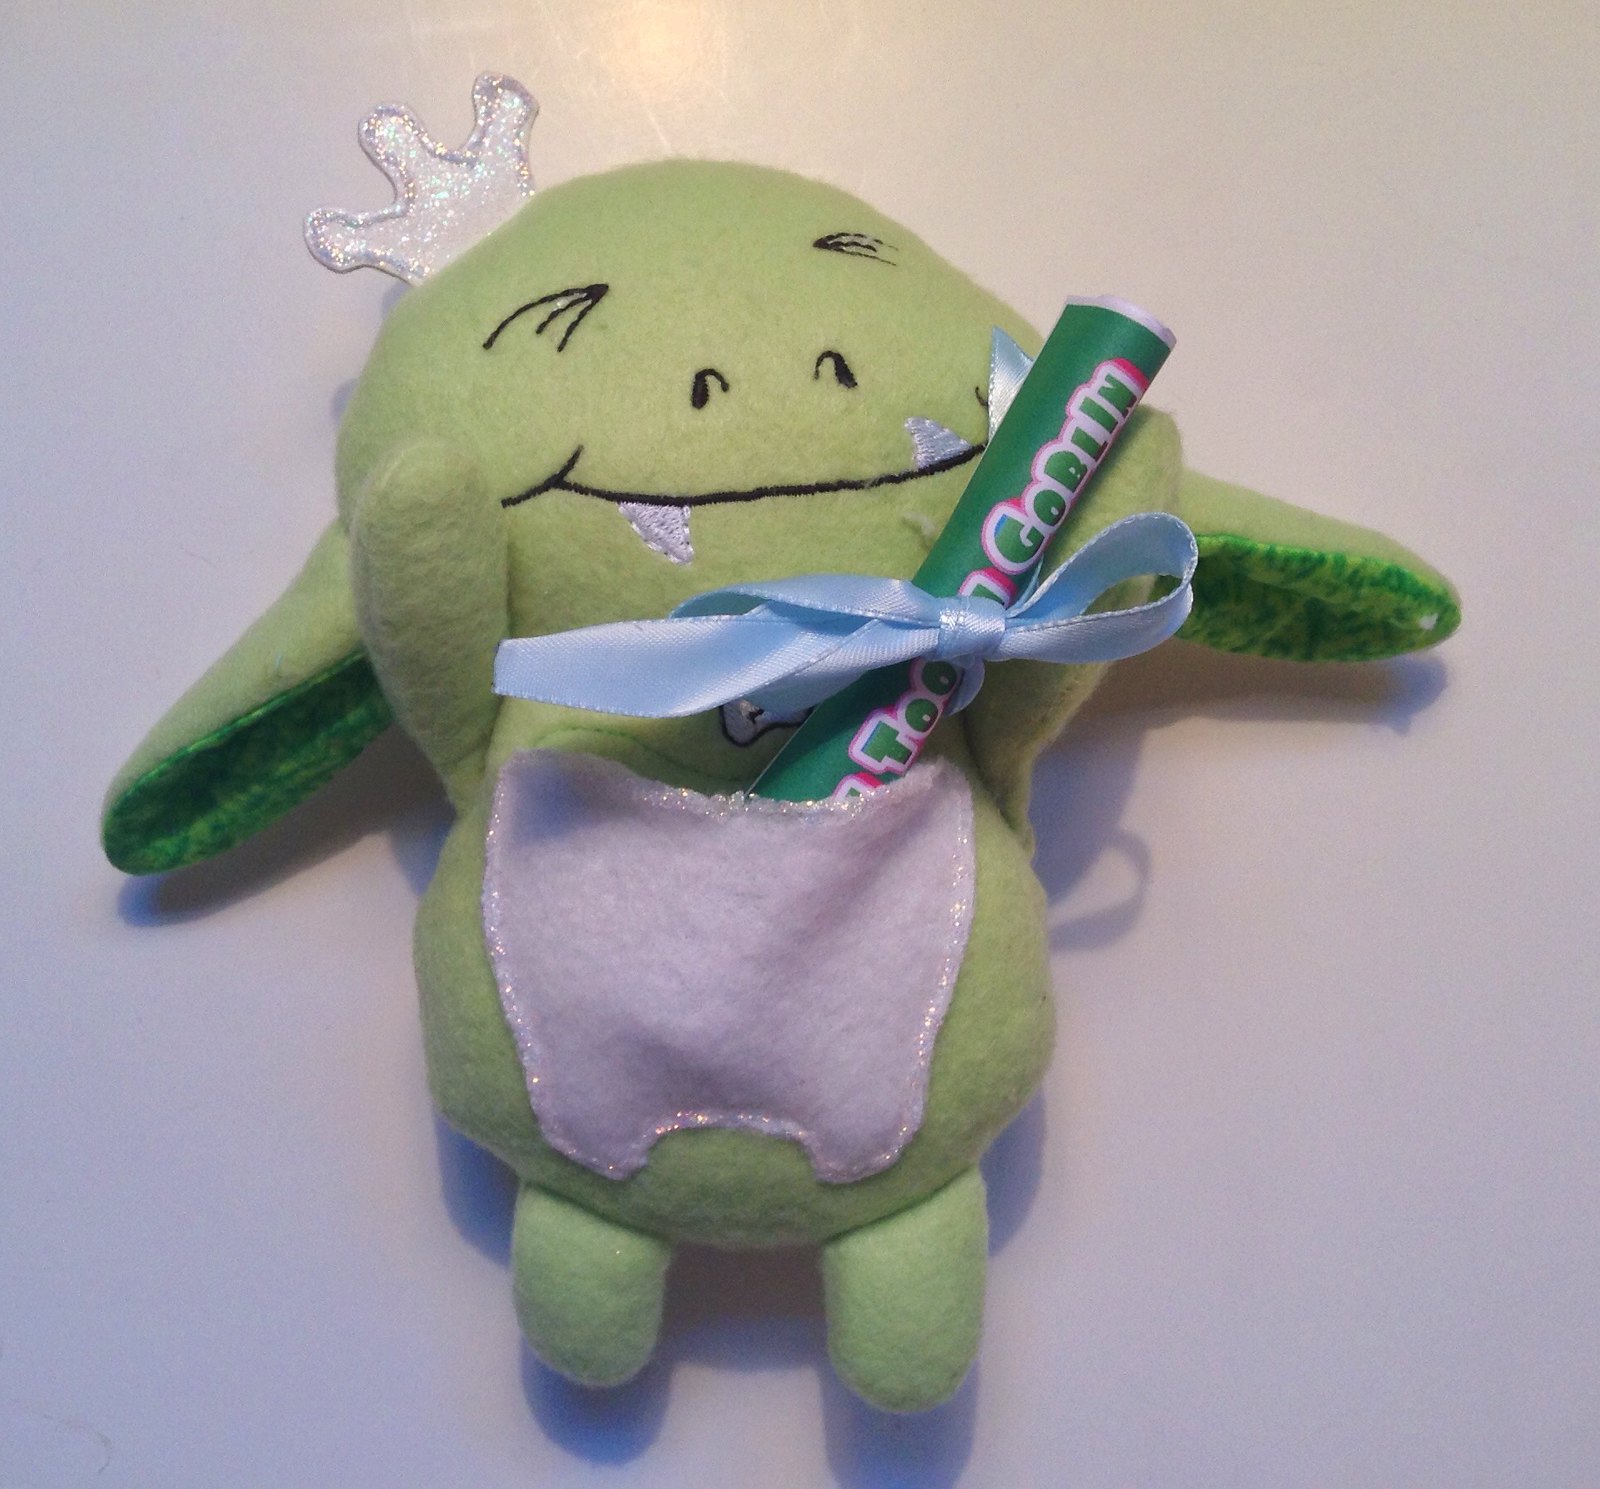
This is a tooth goblin. I thought I'd show him with something in the pocket and without. there is a story that goes with him (the rolled up paper has the story on it) and he is an alternative for the tooth fairy. I'm giving this one to a little boy who is just about ready to start losing those teeth. Thought this one would be fun to give and can be passed onto his sisters when they are ready.

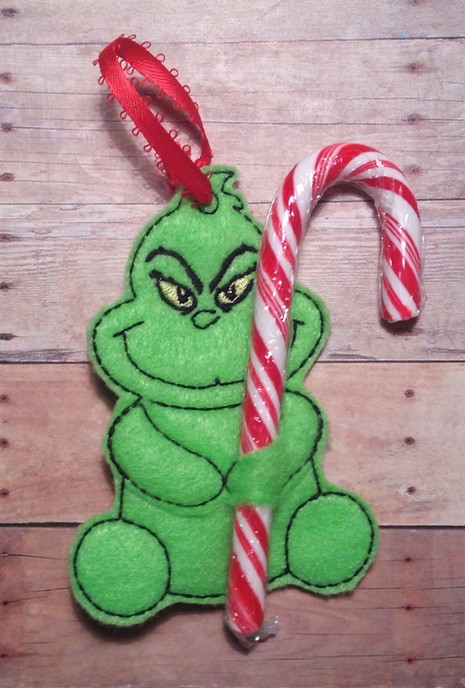
And lastly... a Grinch candy cane/pencil ornament holder. :)

💝
Have a great holiday in however and whatever you celebrate! Just go have fun! :) I hope to see you all next week (That is what I'm shooting for!) Don't forget to enter for the Puppy Birthday prize! It's almost over!

💝

Wednesday, October 26, 2016

Arts and Crafts Corner: Halloween Wreath!


Halloween!

I decided to make a wreath for my mom for Halloween. I had a old wreath I didn't like what I did and just adding various things to it. Some of it I had, some of it came from the dollar store (most of it actually), some was machine embroidery (the signs), and the main ribbon on the wreath I did buy at a discount (LOVE sales and coupons). It actually ended up costing very little but then again perhaps it looks that way. :) It is a hodgepodge of various elements although the theme is the same. 


Okay, I know the lighting is bad, but it was the best I could get at the moment. As of writing the post, my mom has yet to put it up. We've had a lot of fires surrounding us which often brings up the weather so she didn't want to get it dirty. Um... it goes outside mom... it's gonna get dirty! LOL

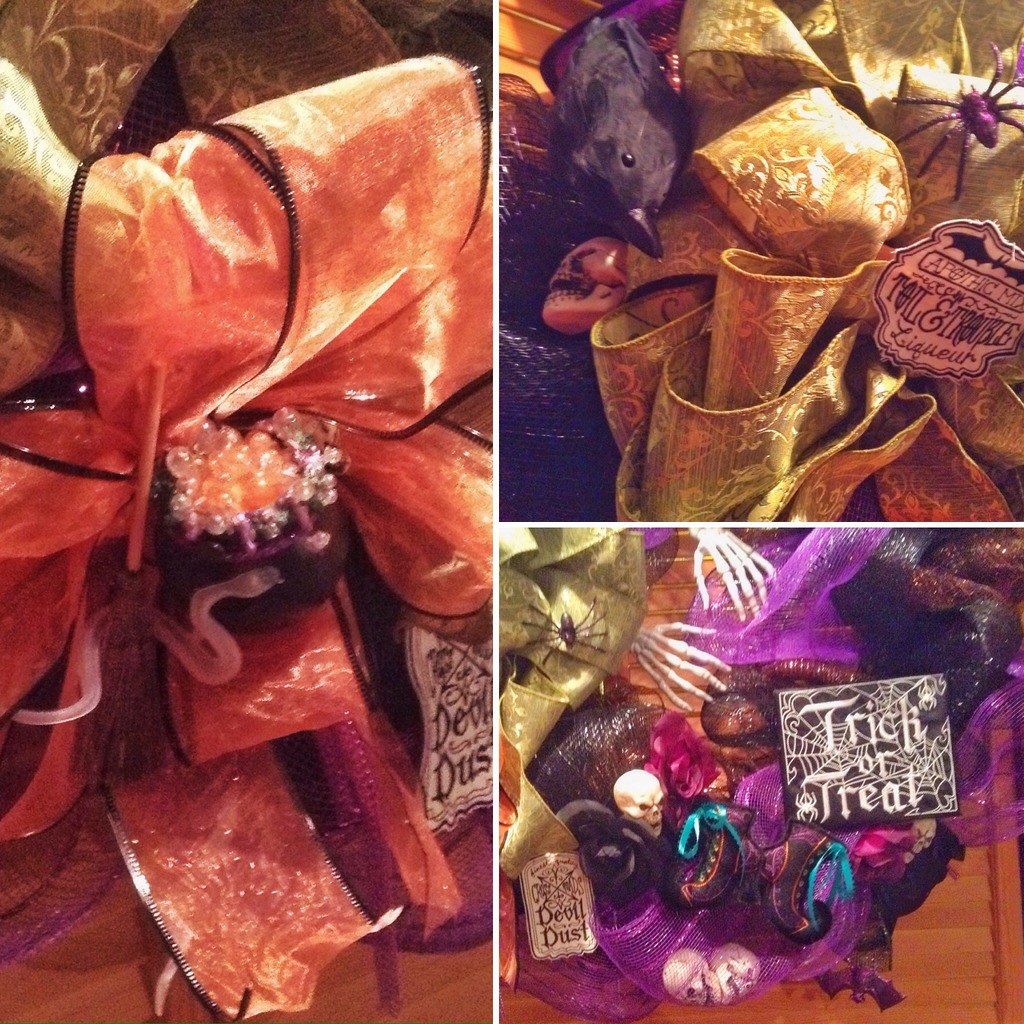
Here are some close ups I did:

I do hope this makes some of it clearer. All signs were machine embroidered and the Trick or Treat sign is done in glow in the dark thread. The Trick or Treat disappears and all you are left with is the spider webs and spiders. I couldn't get a good photo of it. The skeleton hands are salad tongs I got at the dollar store and the cauldron's bubbles are clear beads I glued to it and the potion inside is glow in the dark paint. :) 

Again I'm sorry for the bad fuzzy pics, but I didn't have a chance to get the pics taken when it was outside. :)

So, have you any crafty Halloween things done this year?

Friday, October 7, 2016

Craft Corner: Denim Key Fobs


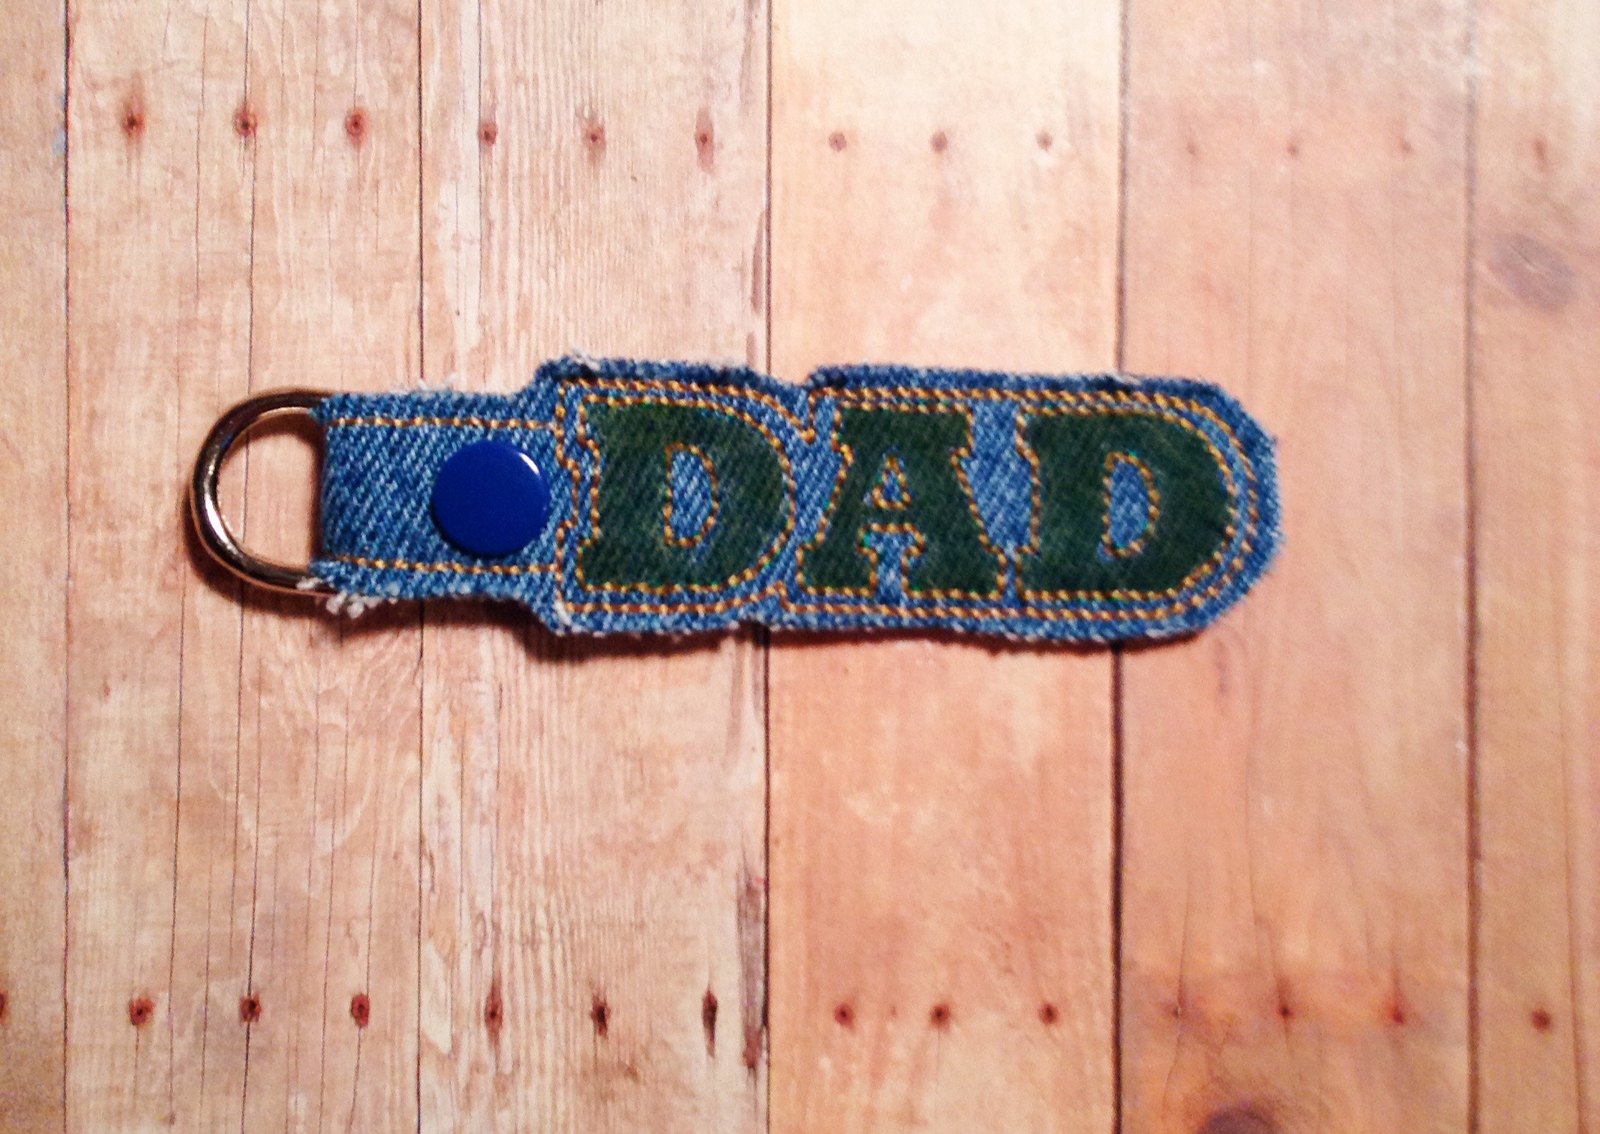
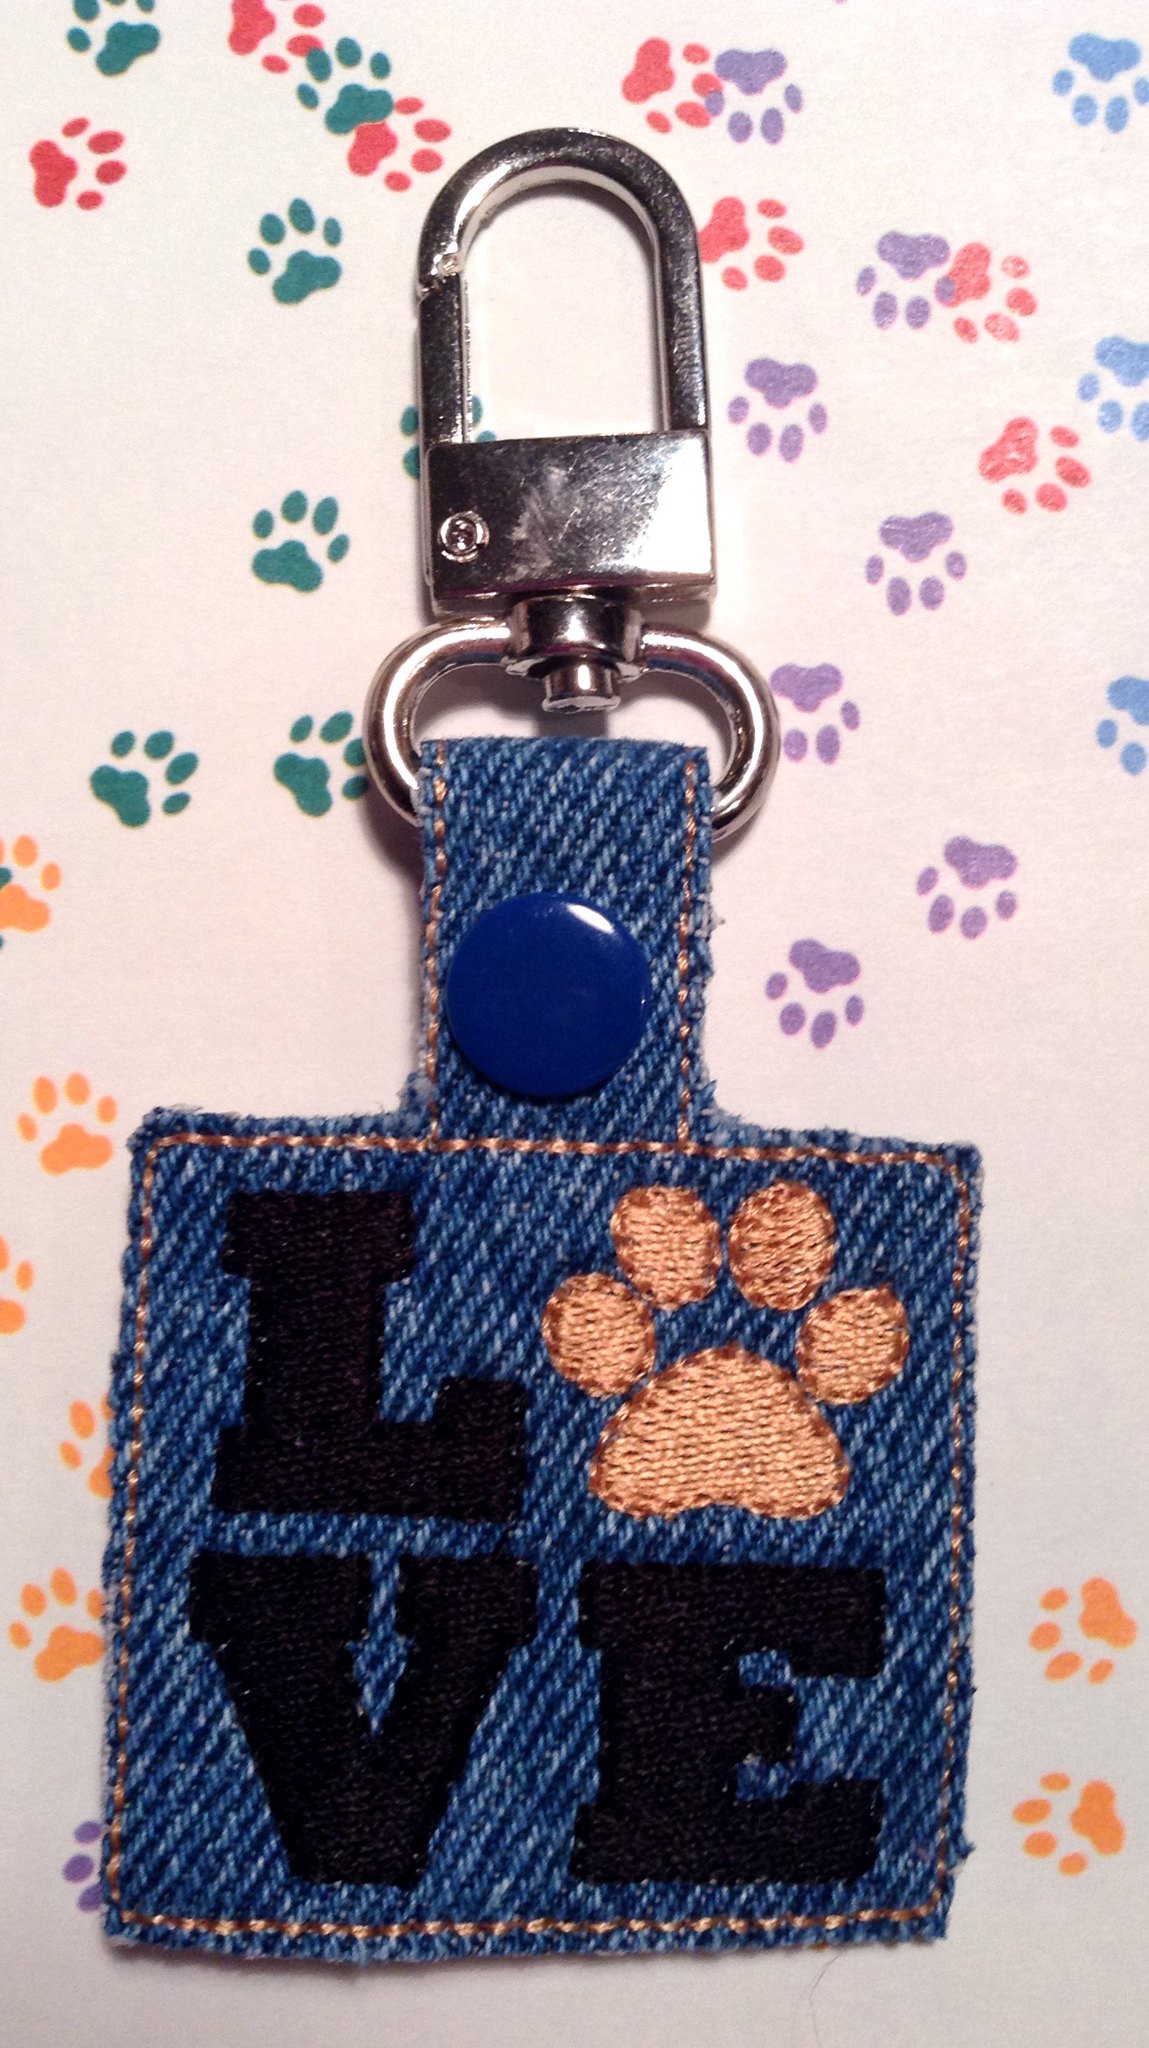
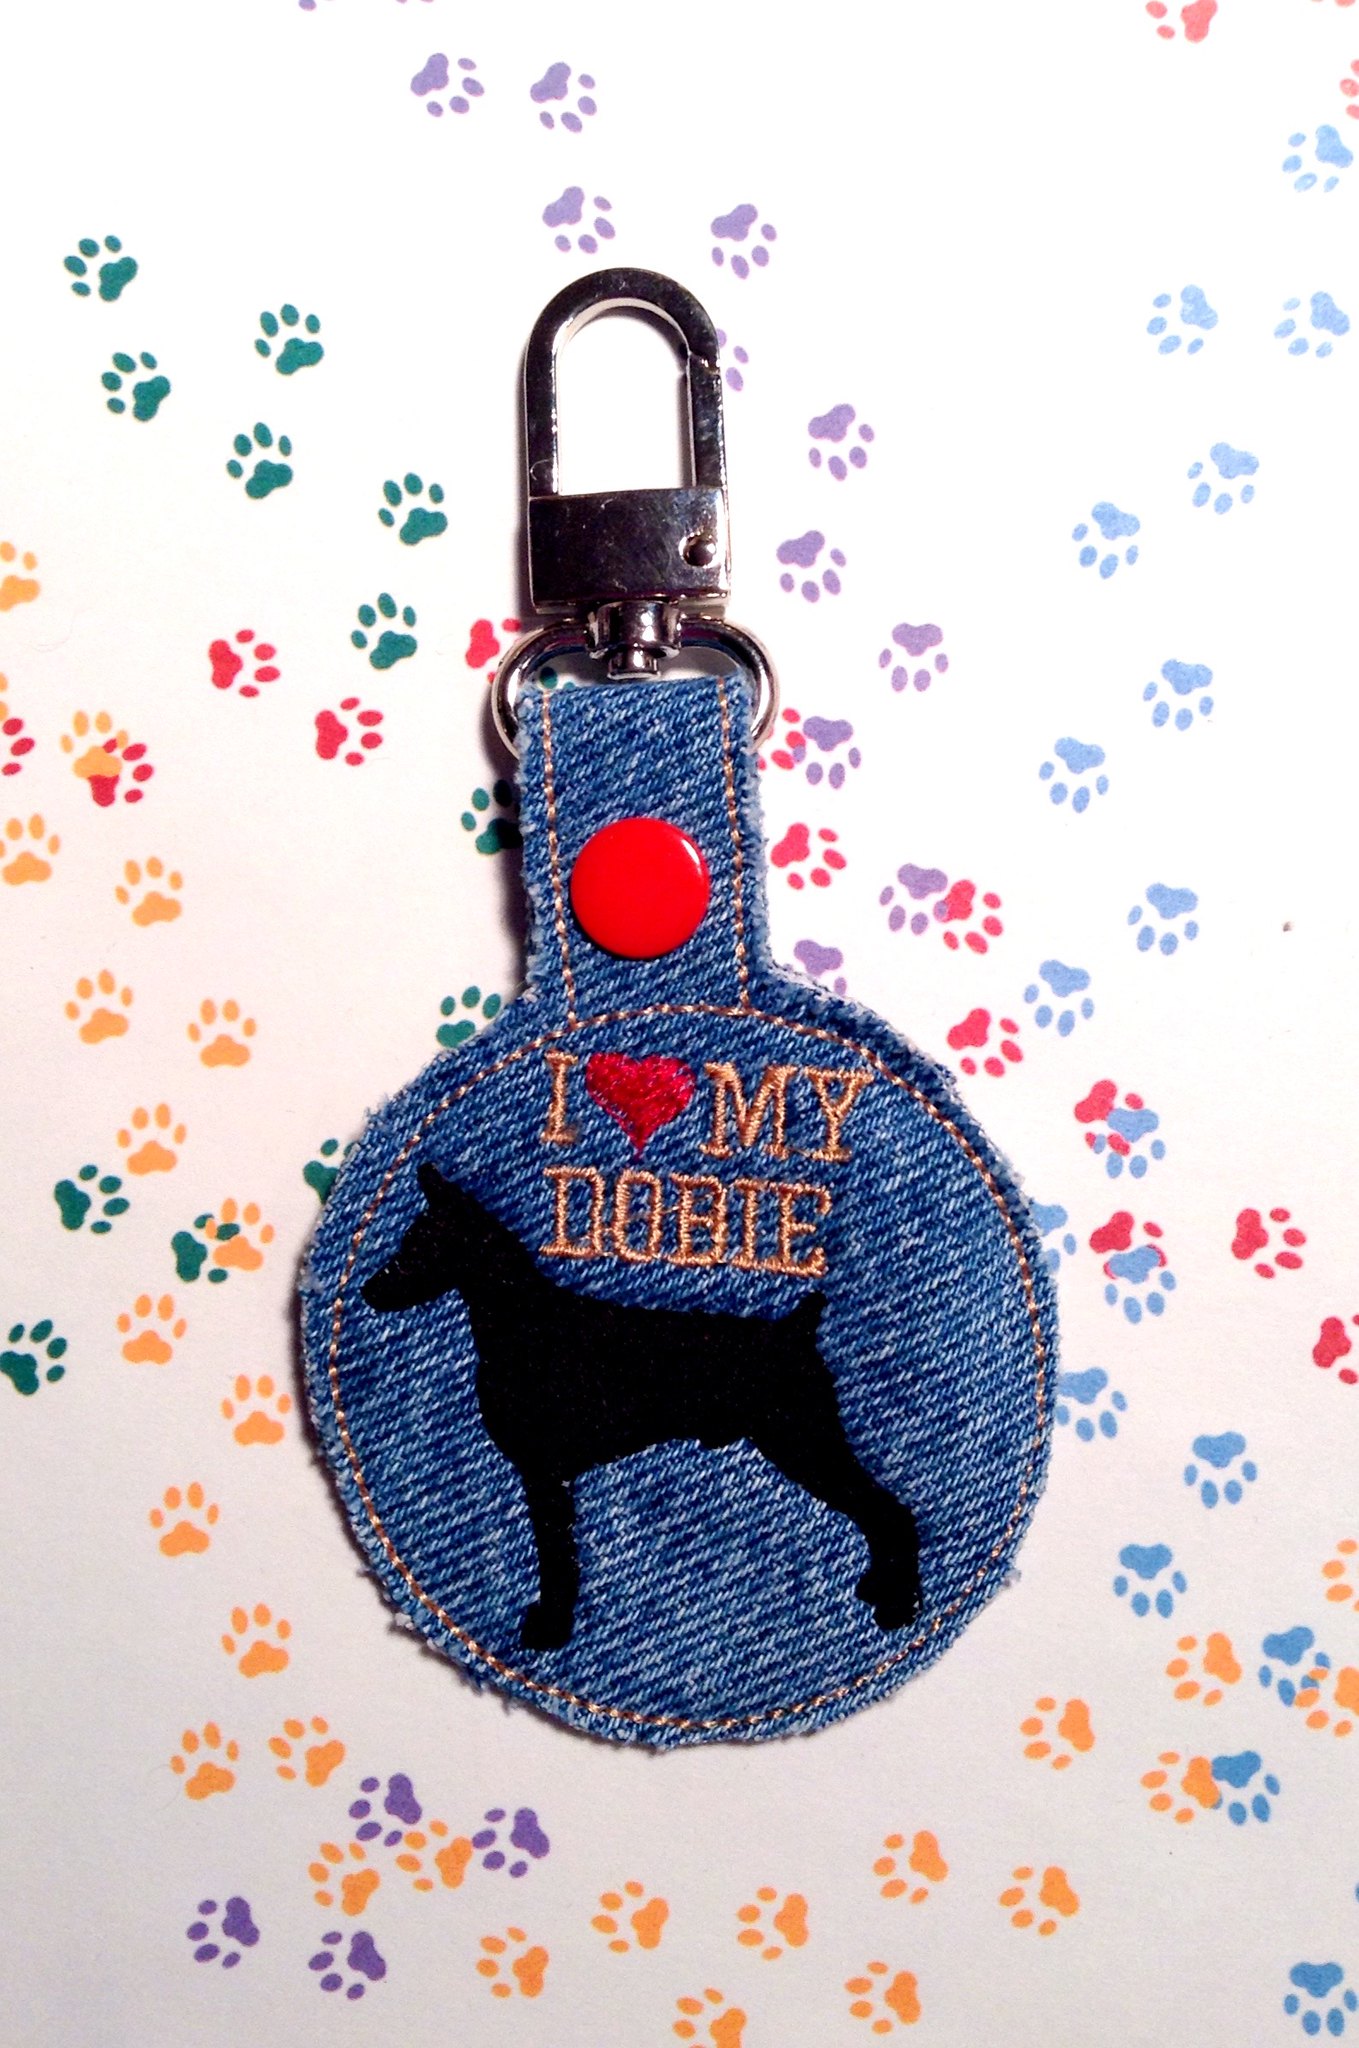
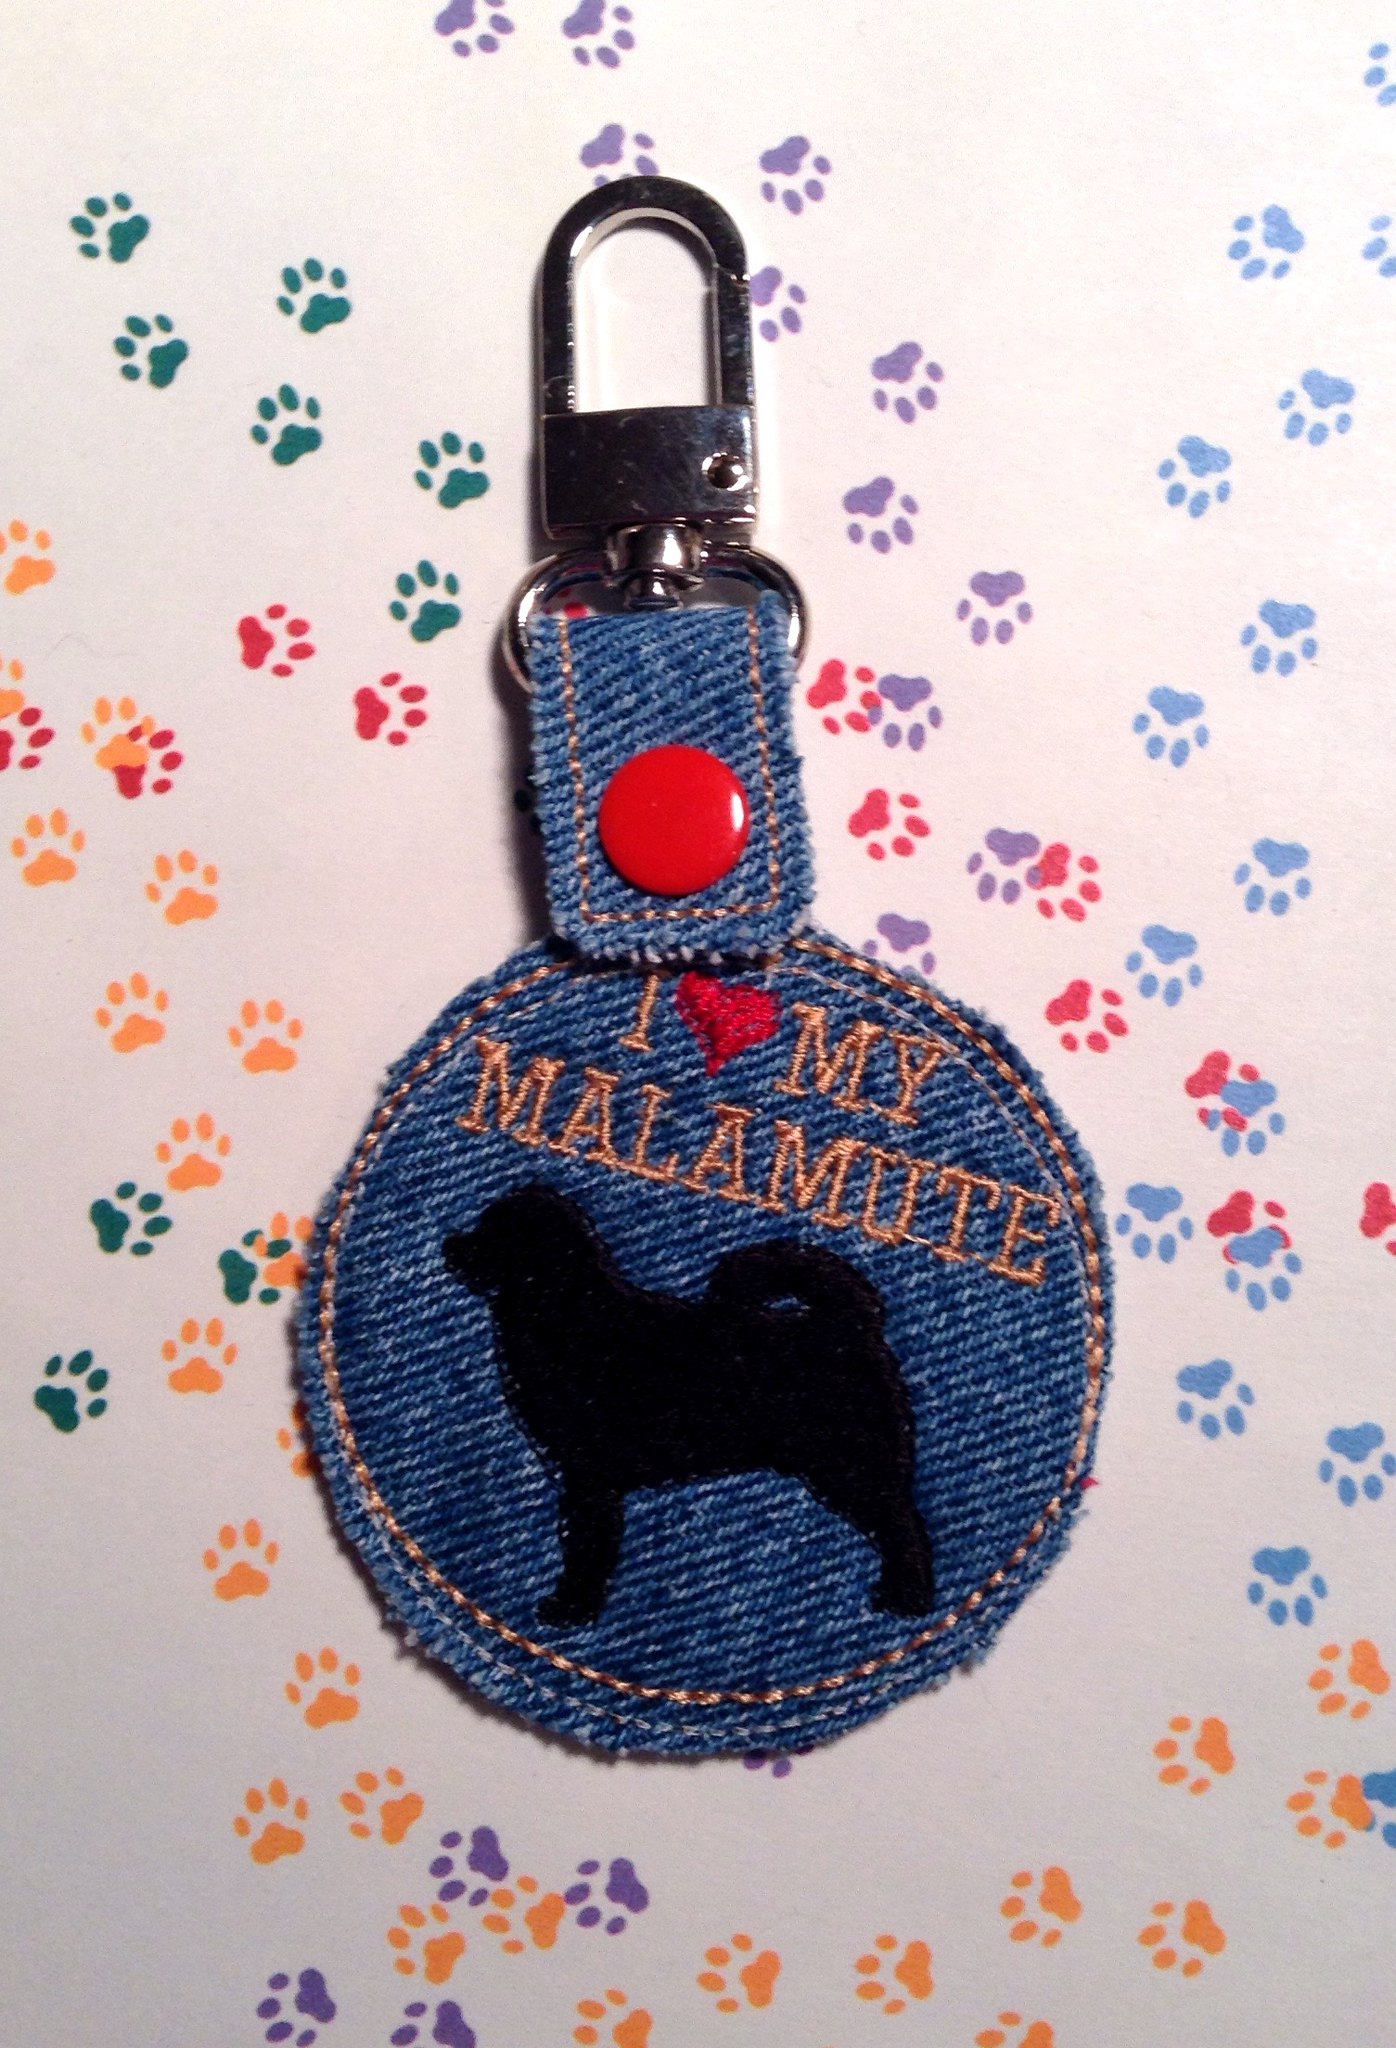
Denim! Key fobs! :) 

First ones that I've made and I thought I'd try it in denim before I moved onto vinyl which most of these are usually stitched. All scrap denim and all of these are done in the hoop on an embroidery machine.


I did both of these for my parents. I'm guessing you can tell which one I made for which. LOL Both these designs are by Designs by Little Bee and the embroidery file can be purchased at her Etsy store (her name is Melissa too... Bees unite! LOL)

I did this one for me from another designer. This is the front and back. I stitched the malamute side first and then tried to match it up to the other side when the final stitch put both sides together. Not quite matched up but not horrible either. :) My pups approve. 

I'm having fun creating these and I do like the denim look. So do you all use key fobs? Do you like the denim?

So, what crafty thing have you been doing lately?

Wednesday, July 20, 2016

Craft Corner: Caroline Clutch and Mini Heart Pouch


I decided to break up a few of these posts from my audiobooks. These are the latest crafts I've done while listening to said audiobooks. :)


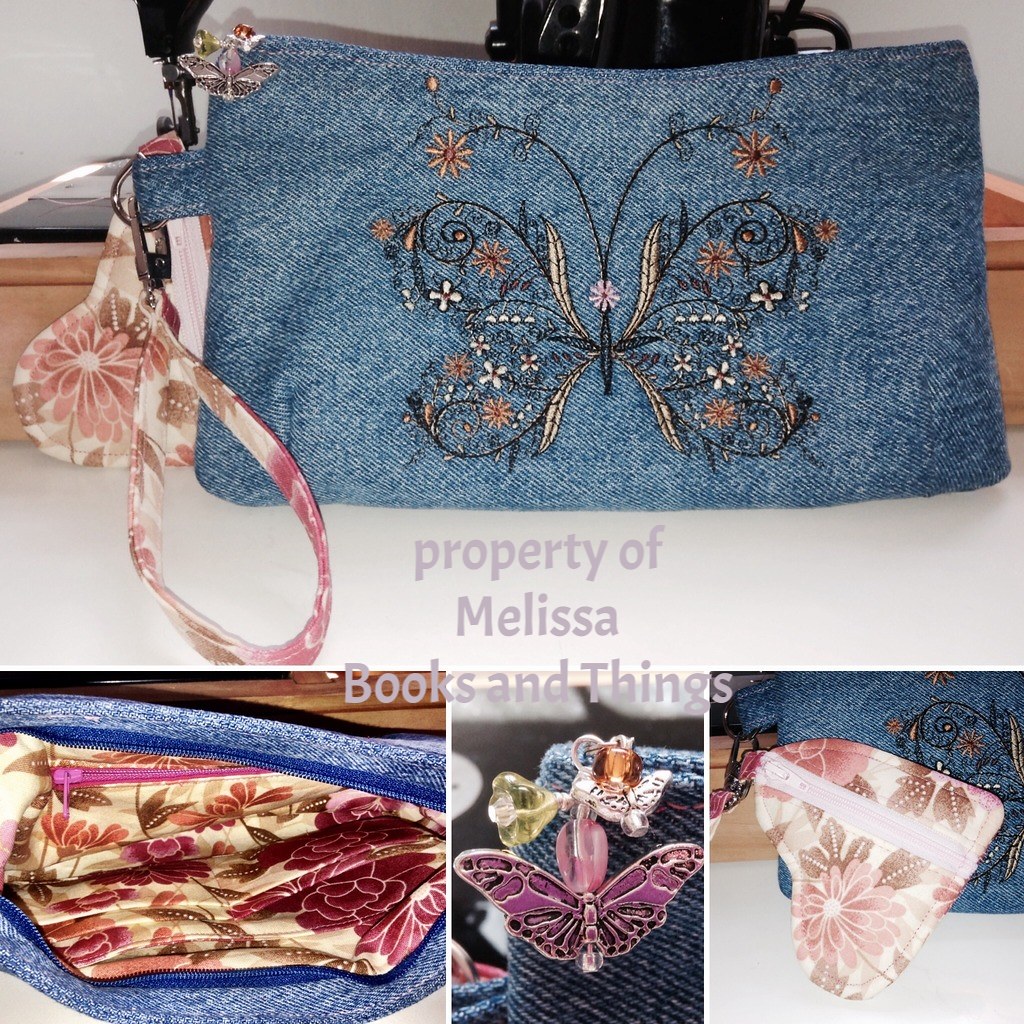
This one I made for a graduation pressie. She is girly but down to earth and so I thought mixing florals with jean material would be perfect. The clutch pattern is the Coraline Clutch by Swoon Patterns (affiliate link) which I had made before (LINK to the post if you have not seen it or want to know what else I did with the pattern). The embroidery is from Kreations by Kara. This pattern is considered intermediate difficulty and I would say because of how the zip is sewn on, that would be accurate for the clutch aspect of the pattern (there are 2 sizes). It isn't hard really and there are a couple of youtube videos that explain it quite well visually if you want to tackle it. I would say that being comfortable with zips and some glue basting is a must here (perfect for zippers!). I didn't use any interfacing on the outside of the bag since I went with denim and it would be thick enough for top stitching. It was a bit hard to top stitch this one but my machine did a good job (good machine!). 

I also added a credit card/cash pocket and a zipper pocket for good measure. Those things were not in the pattern but are easily added. I also changed the size of the wristlet loop to suit my clip and I also sewed the d ring loop differently than instructed (was needed since I was using denim. I just made a loop and turned it inside out and put the seam on the inside. I also sewed the wristlet loop a bit different than the pattern and I may do a tute on that later. 

I topped this one off with a butterfly zipper pull made with 2 sizes of butterflies and a small glass flower. I used the beads with what I already had in my stash. I use a tiny split ring to attach it to the zipper.


I made this mini heart pouch to go with the above clutch and just attached it with the wristlet snap hook where it attaches to the clutch. That way it is removable if she wishes. I got the pattern from a tutorial at Dog Under My Desk (so it's FREE) and it was quite easy to do. I had a bunch of very small zips so I was able to do this one with a shorter zip than suggested. 

The hardest thing here was paying attention to the cutting so you can be sure that your front and insides next to the zipper are correct (I had to recut the inside part here again) so make sure you are flipping (mirroring) the pattern pieces for the inside fabric. This was not properly explained in the tutorial since she used a solid that could be used on either side. You don't have to worry about the backside of the pouch since it is a full heart and is symmetrical. You also have to pay attention to the grain of the fabric (usually the up/down portion of the fabric piece) because you don't really want stretch (this part is explained better in the tute). I used thermolam (fleece) interfacing instead of batting. It is just less loftier but works the same.

It is pretty easy but make sure you pay attention to the seam allowances as well since you will be hiding the raw edges in the top stitching. Just go slow over the curves and you will be fine. I would probably rate this one for a confident beginner to intermediate because of the shape. She has a round tutorial on her blog if you want to make something a bit more simple. Don't let me scare you off of this one. It really is easy if you go slow and it's a great scrap buster as well.

So have you been crafty? 

Wednesday, July 6, 2016

Craft Corner: Tulip Case


I decided to break up a few of these posts from my audiobooks. These are the latest craft I've done while listening to said audiobooks. :)


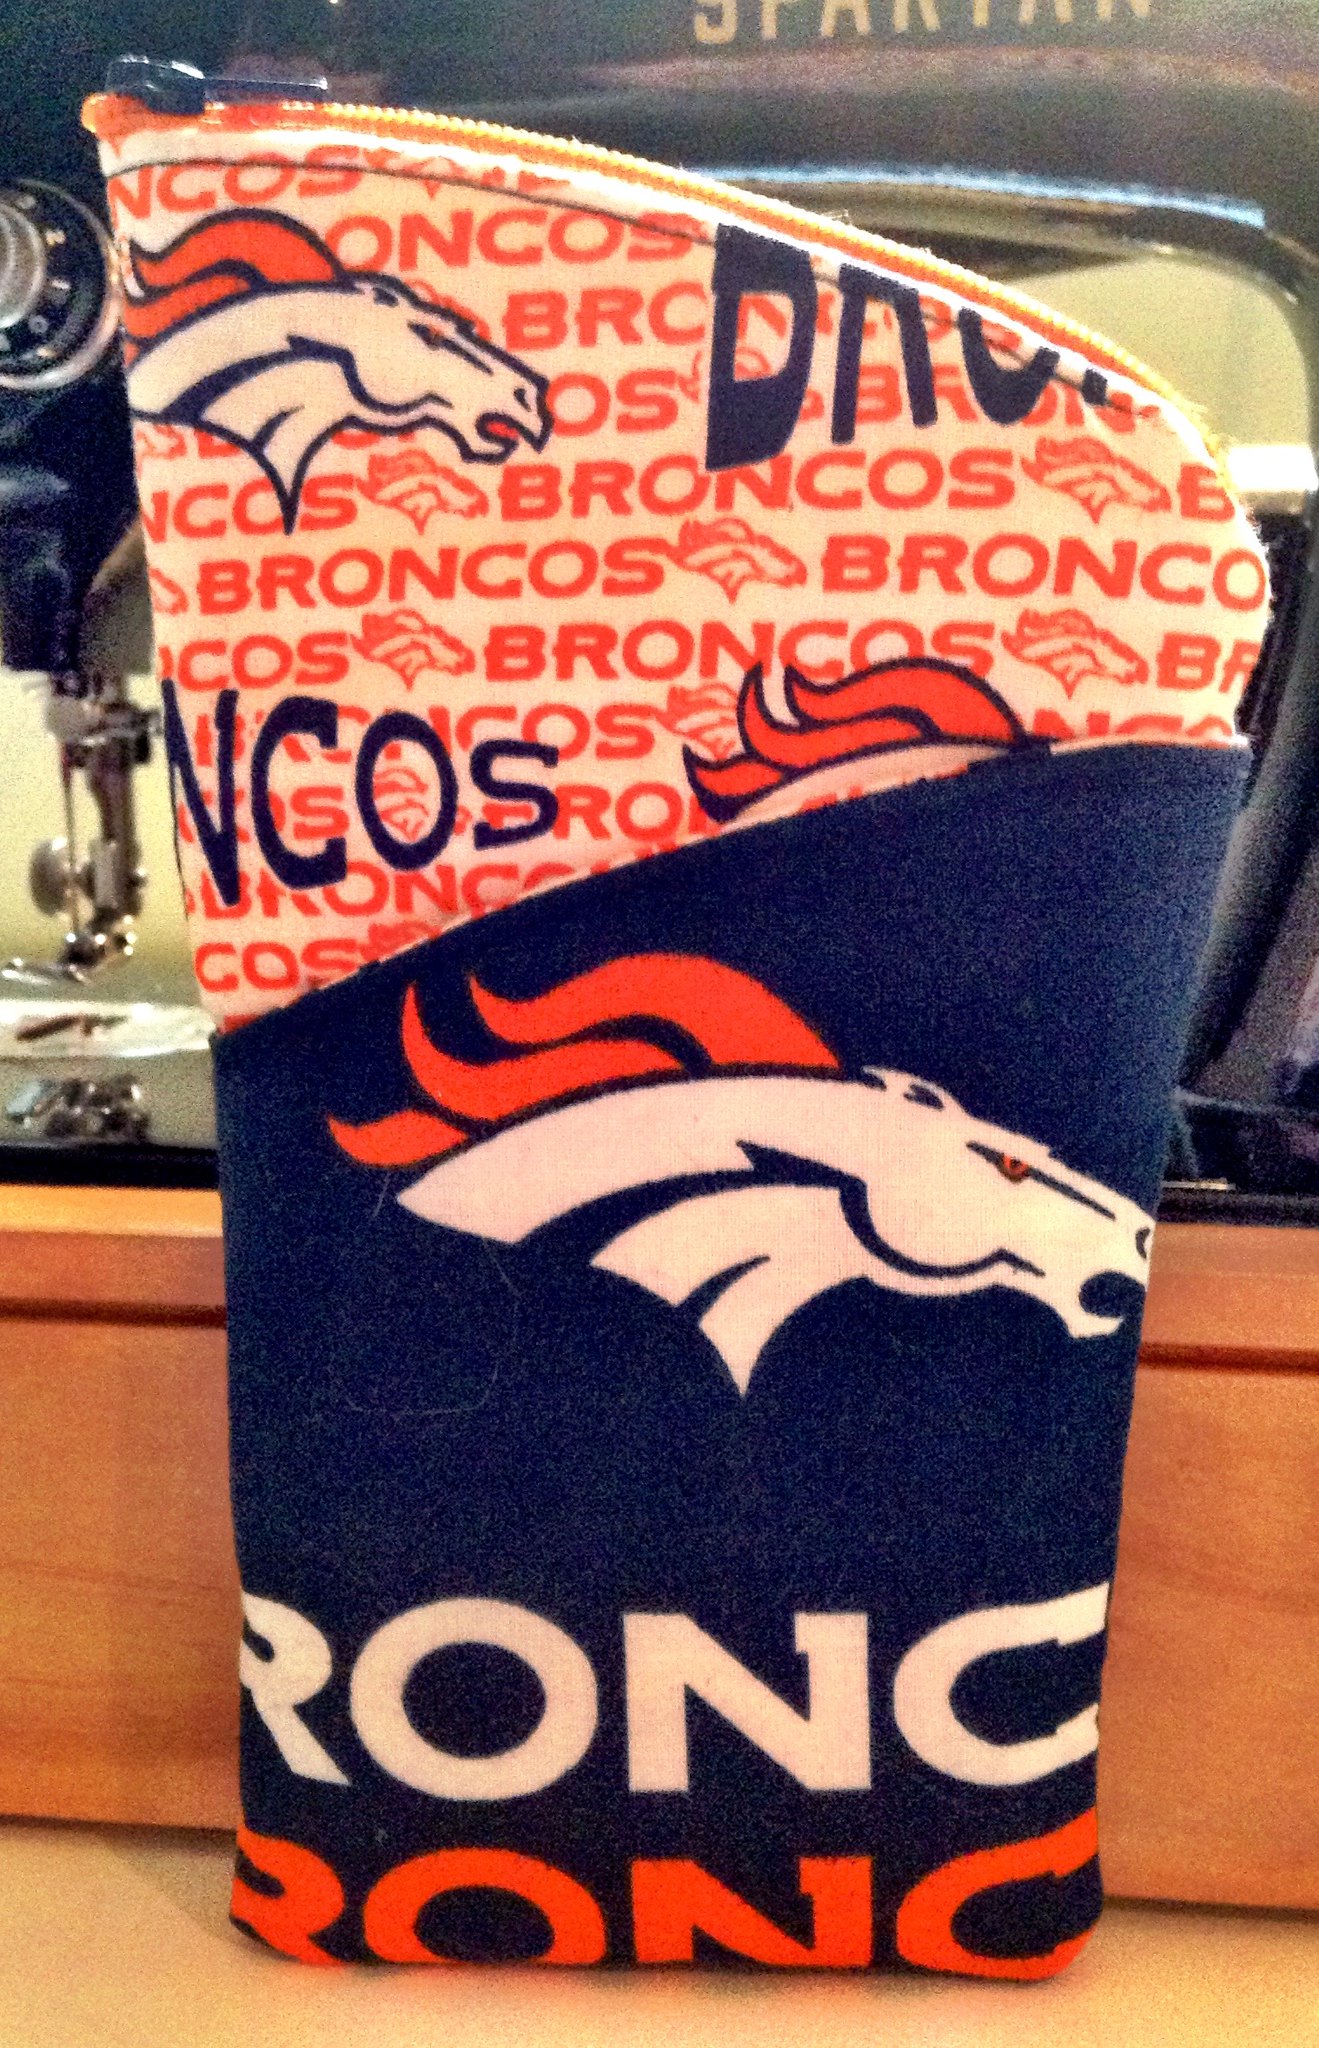
This is a pouch I made for my dad for his sunnies. The pattern is called The Tulip Zipper Case by CloBird Designs. The pattern is FREE and can be obtained at Craftsy (HERE). It is considered a novice level project and I would agree. You might make a few things with zippers first if you are intimidated with them, but really, it was quite easy. The hardest part was placing the blue zip head onto the orange zipper base (you don't have to mix and match but that is part of the fun in this project). Once that was on, it was smooth sailing. The directions are easy to follow and it is a good scrap buster. The pattern calls for foam interfacing but I did this one with thermolam (fleece) interfacing instead and it worked out fine. My dad loves pockets so this one was perfect for him and not only did he have the main zip pocket but the pockets on the front and back as well (blue part). All I have left to say is GO BRONCOS! :D

So any crafty things you've done lately? *crafty eyes* 

Friday, March 11, 2016

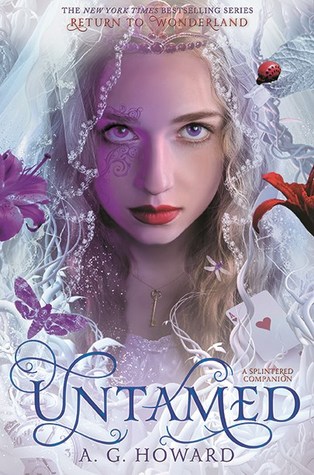
Audiobook Review with Crafts: Untamed by A. G. Howard


Series: Splintered #3.5
Narrator: Rebecca Gibel
Unabridged
8 hrs. 43 min.
Publisher: Blackstone Audio
Source: Audiobook Jukebox, and publisher for review.
A post-Ensnared collection of three stories—available in both print and e-versions. 
Alyssa Gardner went down the rabbit hole and took control of her destiny. She survived the battle for Wonderland and the battle for her heart. In this collection of three novellas, join Alyssa and her family as they look back at their memories of Wonderland.

In Six Impossible Things, Alyssa recalls the most precious moments of her life after Ensnared, and the role magic plays in preserving the happiness of those she loves. Alyssa’s mother reminisces about her own time in Wonderland and rescuing the man who would become her husband in The Boy in the Web. And Morpheus delves into Jeb’s memories of the events of Splintered in The Moth in the Mirror, available in print for the first time. 
This collection expands upon Ensnared's epilogue, and includes some deleted scenes to provide a “director’s cut” glimpse into the past and futures of our favorite Splintered characters.
 My thoughts:

This is a collection of stories, The Boy in the Web, is one of them that was already published. They all go together to give us insight into what went on in this series. What we usually crave when we finish a series we hate to see go.

I wasn't enthralled with The Boy in the Web, because it does a bit too much rehashing for me. However, since this one was really placed after the first book, it makes sense to rehash since the background may have not be set for too many people. Even though this was the weakest of the stories, I still enjoyed finding out how Alyssa's mother found her father. It really strengthened their storyline for me.

Six Impossible Things was the strongest for me and gave us what we wanted to know about Alyssa's and Jeb's life after the stories ended. The Moth in the Mirror also does the same for Alyssa and Morpheus. It is everything I wanted to know and I felt satisfied in the telling of these stories. I don't want to spoil anything so that is all I will say about those stories.

Although I love Rebecca Gibel's character vocalizations, I don't love all her narration. I do like it however. It was just a bit too slow for me and putting the speed at 1.25 helped and moved things along at a better pace for me. My only niggle about her narration and would easily get another audiobook read by her.

I give this collection of stories 4 stars. I highly recommend it to those that love the series. I don't recommend listening/reading this one first. This one definitely belongs as an epilogue of sorts.

The Crafts:
I made my dad a duffle bag since he had been needing one for the gym. I started this one with the previous audiobook but finished it with this one. The pattern is by Swoon (afilliate link) and was pretty easy to do. However, it seemed that with everything that went brilliantly... something went wrong. So, he has an extra zipper pocket inside since I put it in the wrong place. Good thing he likes extra pockets. LOL I also lined it with money fabric. I didn't win the powerball so this was the next best thing I could do to give him a bag full of money. Thought it would be funny and it goes with his sense of humor. :D I also have a close up of the piping I did since it was one of the best that I did and I'm not sure when that will happen again. LOL

Be one of us!